
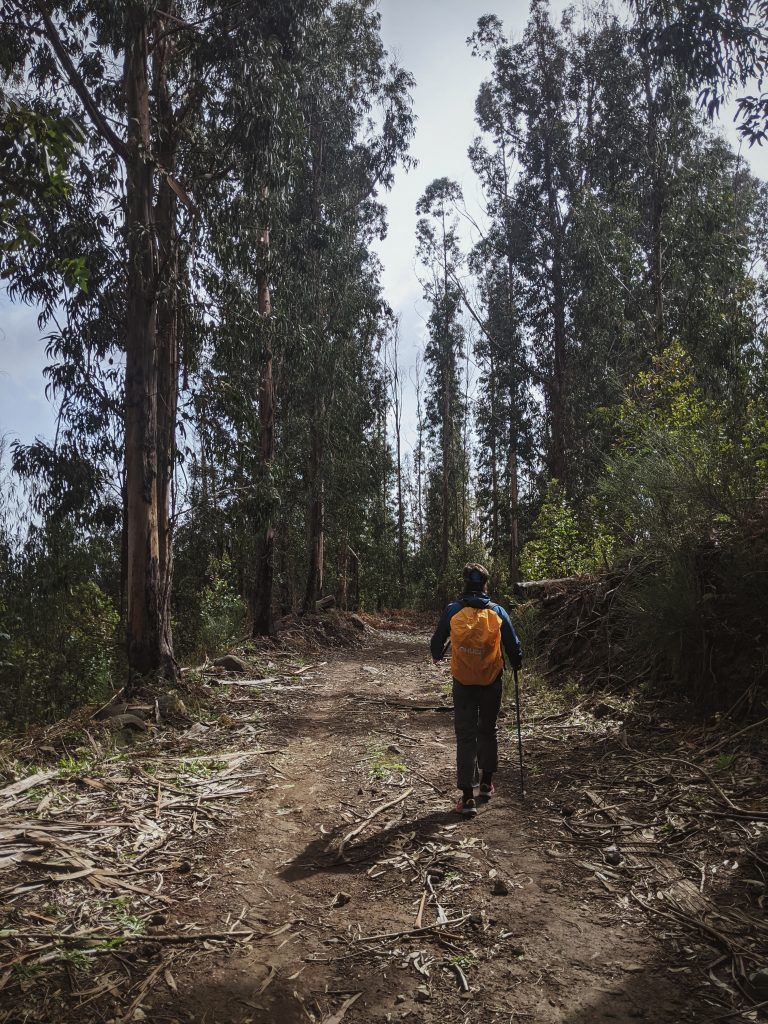
The journey across the island from Sao Vicente to Ponta Do Sol is not for the faint of heart. It goes steeply up the hill for a few kilometers before switching into an enjoyable 10km hike via Levadas with long dark tunnels and finally, a long and difficult hike down to sea level.
Hike Distance: 27 kilometers
Hike Duration: Around 11h
Hike Difficulty: Hard. Firstly, the incline is 1716 meters and the decline is 1912 meters, which is very steep even for more advanced hikers. You will spend 60% of the hike either climbing up or going down. Secondly, it’s quite long on top of the incline/decline with 27 kilometers to cover. There are a few moments of exposure but there isn’t anything very technical on this hike that requires mountaineering skills. Just being extremely careful.
Hike Incline: Total incline for the hike is 1716 meters
Map: Download trail map
Table of Contents
How to get to the start
There are two options to start the hike:
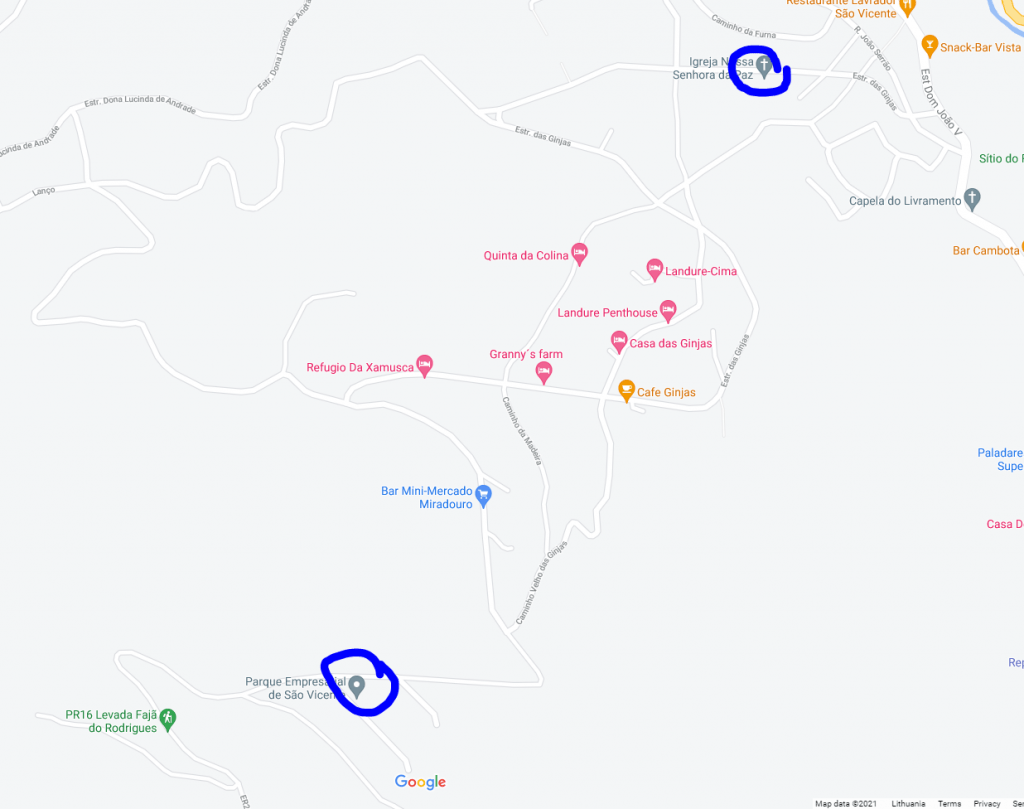
- Parque Empresarial de Sao Vicente parking lot
- Nossa Senhora da Paz church (for a longer hike)
There are two ways to get to the start of the hike. Either via taxi or renting a car. My advice would be if you have a car leave it at Ponta do Sol and grab a taxi to the start of the trail.
Below you can see the two starting points for this hike.
What to take with you
Besides the traditional list for a day hike, I would suggest bringing:
- Lunch – a few sandwiches or something similar for a quick meal
- Snacks – granola bars, trail mix or something of your preference
- A headlamp – you will encounter 5 long and dark tunnels
If you run out of water, you can use Levada to refill.
Section by section guide
Disclaimer – The guide below is just my recount. Make sure you analyze the map yourself and are comfortable navigating it on your own. Don’t follow word for word what is written below as your only source of truth for this hike.
Section 1
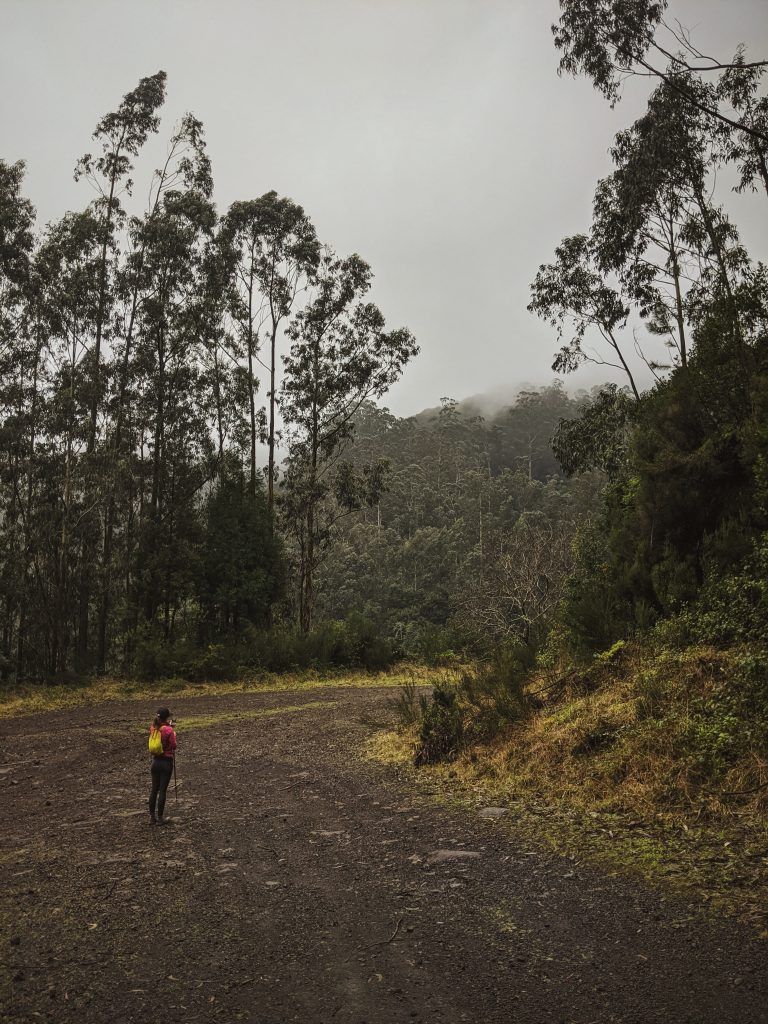
Starting at Parque Empresarial de Sao Vicente follow a few meters on the main road until you hit the dirt road leading to the Levada Faja Do Rodrigues.
Once you reach the marking for this trail cross the Levada and continue heading on the main dirt road.
There will be 7 turns on this dirt road before you reach the start of Levada Norte.
You will be able to identify the start of the Levada Norte by seeing a parking lot and a house on the left.
Section 2
Start hiking on Levada Norte to the left from where you came. Leaving a parking lot at your back.
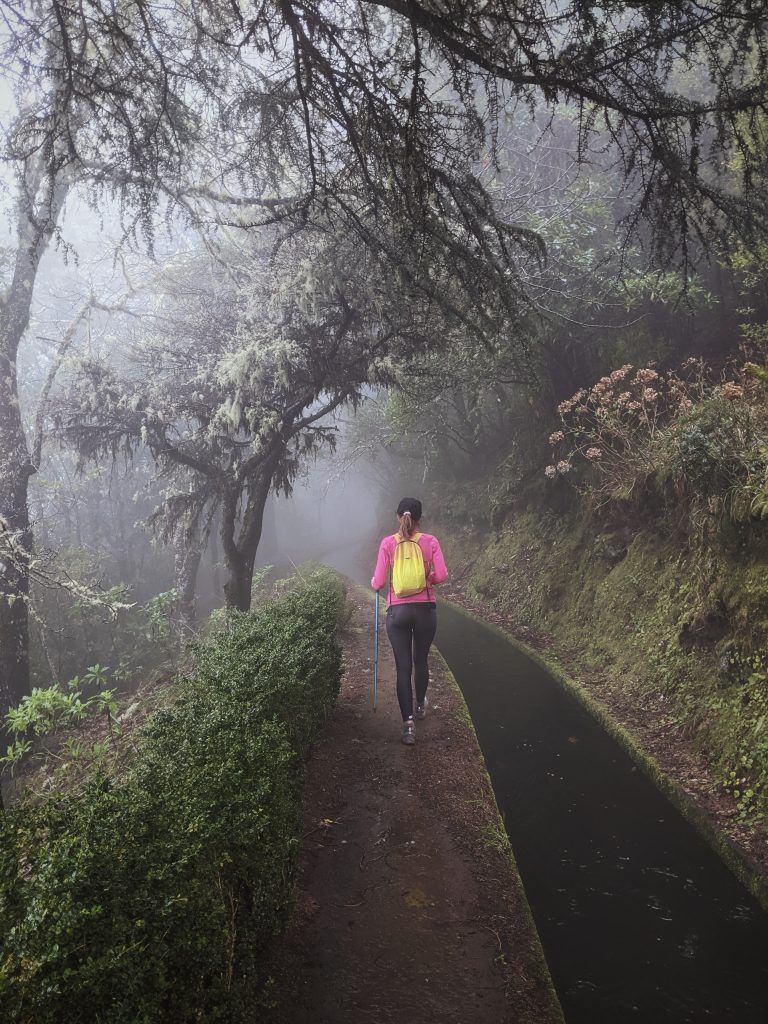
It’s an easy section. Continue hiking Levada Norte/PR17 since they interchange until you pass 1 short and 5 long tunnels. At this stage, you shouldn’t be climbing up or down.
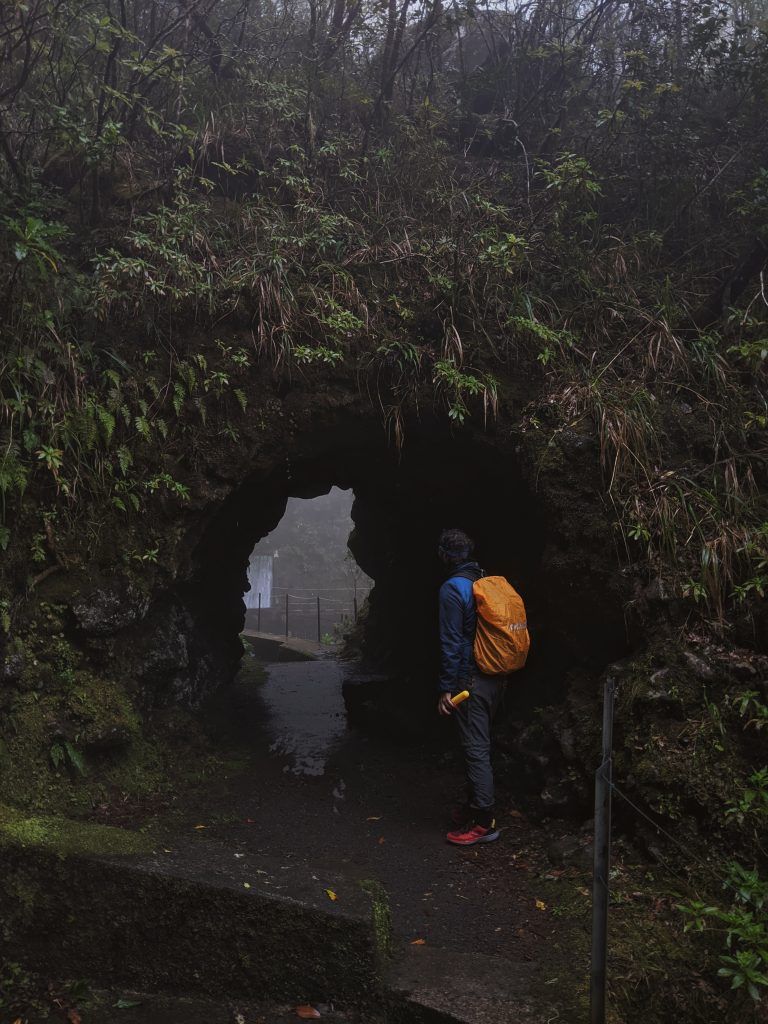 Bring a headlamp. It’s dark in the tunnels, they are long and sometimes you have water up to your knees.
After the final tunnel, you will come upon a forked way with some benches. Turn right, onto Levada dos Rabacas.
Section 3

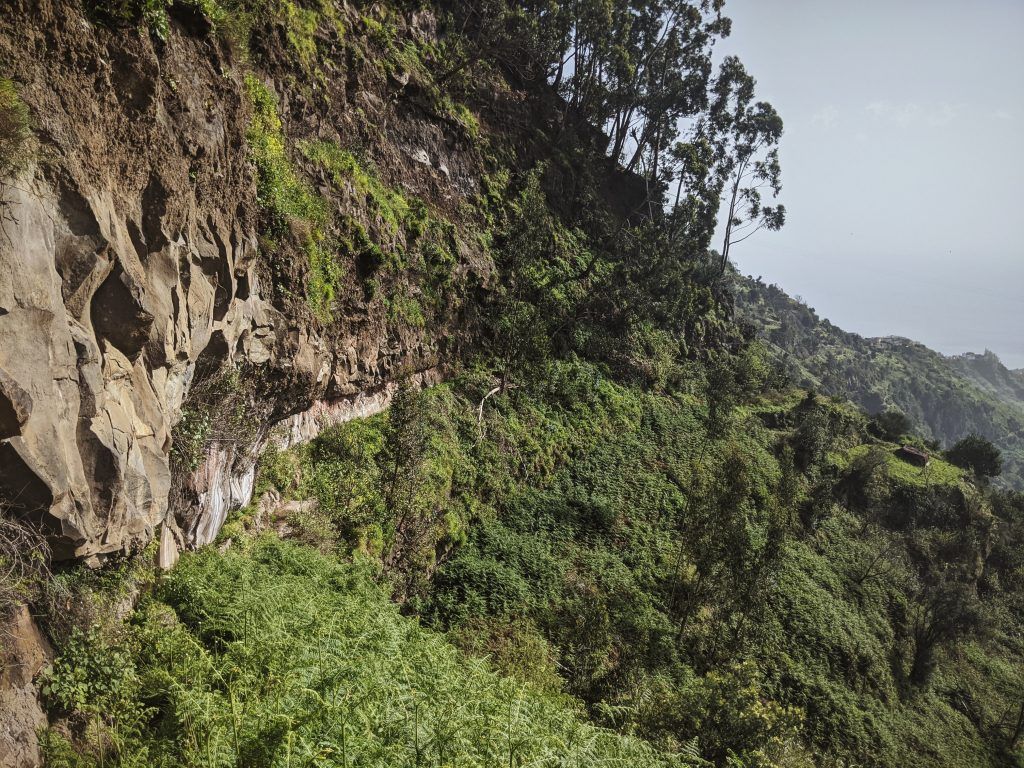
After turning right keep going. Along the way, you will pass through a tunnel. Keep in mind there will be spots with no handrails here.

If there is heavy wind be careful and wait for the gusts of wind to pass before continuing hiking.
After passing a mountain hut, you will come up near the tunnel on your right. You do not need to go in. It’s closed for the public.
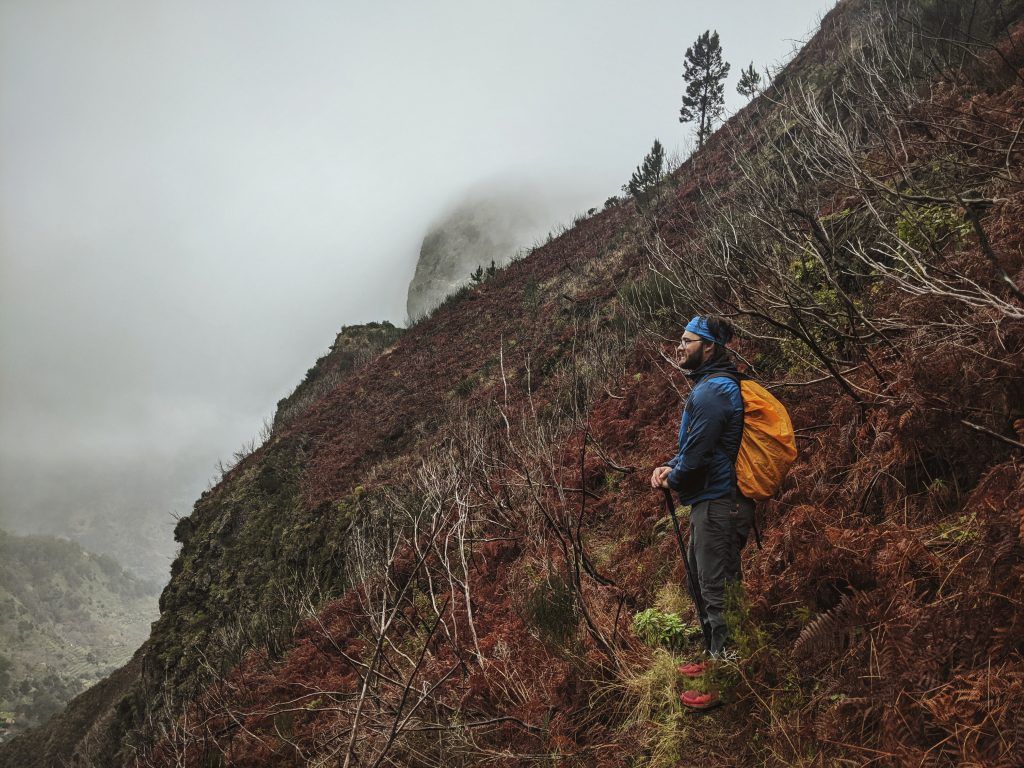
Continue going past it into the bushes near the Levada and look for a small trail leading on the exposed part of the hill. It was visible when we hiked the trail.
Start climbing the mountain and keep on the trail that leads toward the right and up the mountain before you reach a pink house and a fence.
Section 4
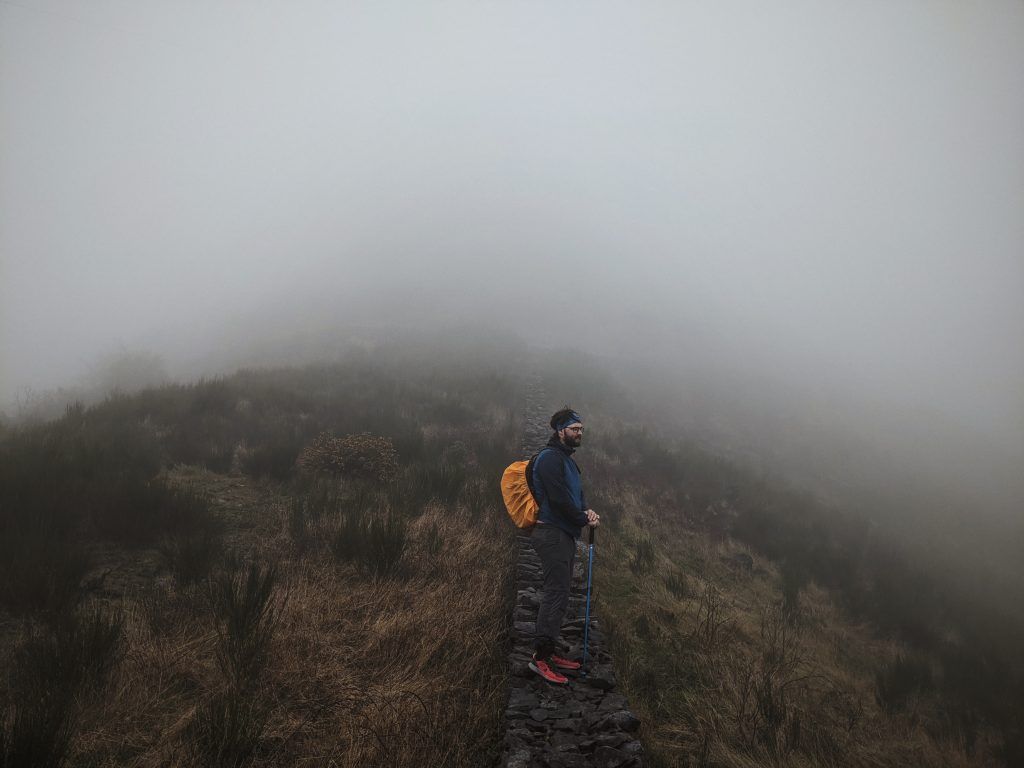
From the house follow the stone wall/fence until you reach a trail, take a right and follow the trail until you find the stairs going up towards the road.
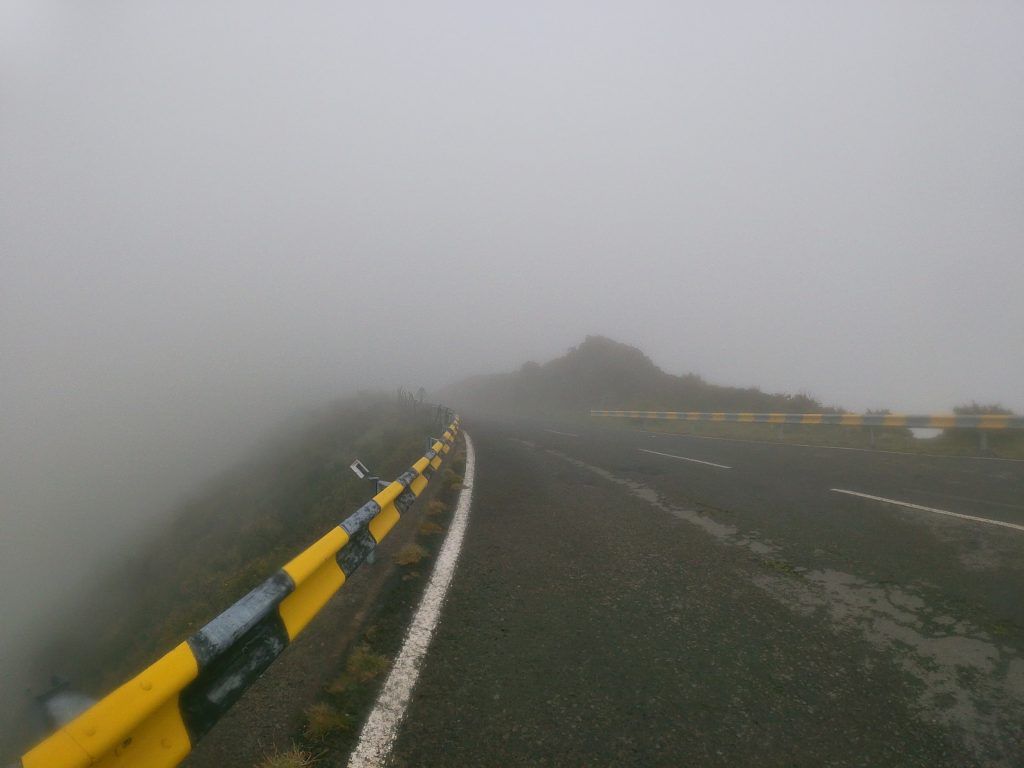
Once you reach the road, take left. Keep on walking until you reach the boom barrier.
After passing the boom barrier take the first dirt road on your left. Keep on going down the road. Once you reach the first turn right, take it. Keep on the trail for 10-15min until you reach a gate built to protect cows from leaving it and cross it.
Hike until you reach a Levada. Continue hiking for 1 km until you notice a small hill and electric wire towers. Somewhere in between the first and second is a car road.
Section 5
The trail takes via old forgotten car roads towards an old non-working Levada.
If you found the correct road near the electric towers, continue going down all the way to the Levada Techo.
Ignoring the first right and after always keeping on the right, at some point, you will come up near the place where the road splits into 3 way.
Take the most right and continue going a little bit up the hill before starting to descend.
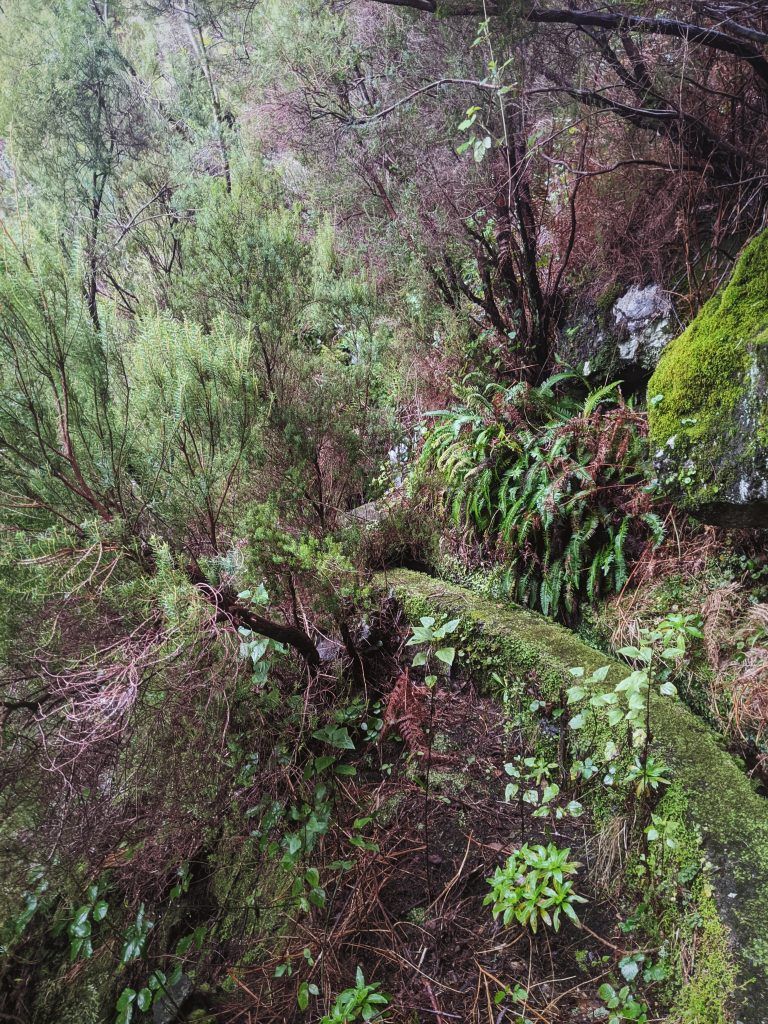
Be aware that when hiking this Levada some sections are either falling apart or gone altogether. If you reached a section where there is no more trail, it means Levada has fallen apart and you hiked too far. There are only 2 options – climbing the wall (like an idiot) or go back a 100m and turn right.
The road down takes you to the Levada Nova. Go left and follow all the way to the city. Once you hit the car road turn right and always keep on the right, never turn left to reach the old town of Ponta do Sol.
To sum it all up – the hike is hard. However, it is one of the most beautiful hikes on the island. You see 5 different Levadas and every time you turn a corner there’s another amazing view to take in. All this beauty makes up for the tough climb that comes with it!