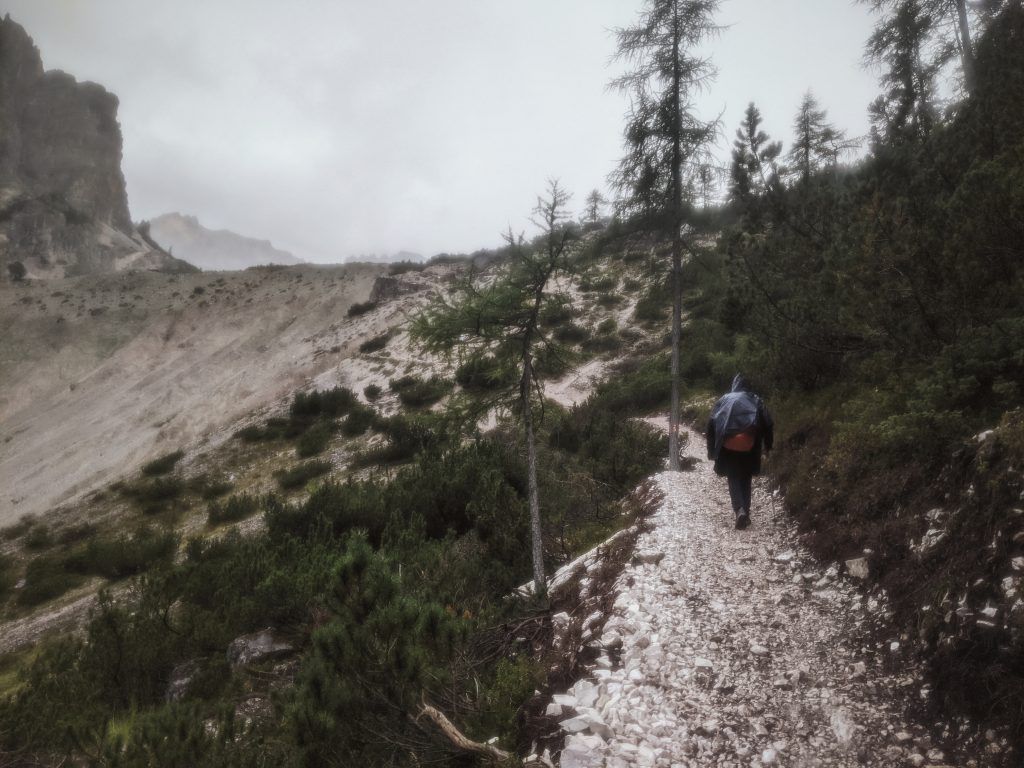
We finished hiking the Italian Dolomitic Alps at the beginning of September 2021 – Alta Via 1, which took us 6 days and 5 nights. Completing 74 mi in 6 days on this alpine trail with 22965 ft + ascent and 19685 ft + descent is certainly not a walk in the park. It requires being mentally and physically prepared to walk, walk and walk some more, while carrying gear and food for all 6 days (only if you want to cut the cost) in rain, cold, or sunshine.
Good planning and understanding of oneself is a must for this adventure. By the end of the day when you’ve hiked eight hours non-stop, that’s when the fight commences. Your body might start to demand intensively to stop and go into shut down mode, but you know there are still some two hours to cover and at least one pass to climb before you reach your destination. And it’s like this – every day.
Moreover, no plan is executed perfectly upon the battle, which is the same in the case of hiking. Thus on the hike, you have to always be prepared to adjust, either because your body simply can’t go on, you are injured or the terrain has changed and demanded more time to cover. Having options to adjust the hike and exit plans at every stage is a must.
Sometimes, you have no chance to make a change to your plan, if you’re tired, hurt, late, or any other reason because you are so remote that the only option for a good rest is to finish the assigned trail no matter what.
On this hike we had everything: changes to our itinerary, injuries, heat, rain, cold, and long, long hours of hiking. To help you out in planning your hike I have prepared this extensive guide.
Table of Contents
Stats at a glance
- Trail length – 74.5 mi
- Difficulty – Hard
- Camping permitted – No official campsites, but wild camping allowed
- Average mi per day – 12.4 mi
- Total cost – $1138 for 2 (only flights in EU calculated)
- Total elevation gain – 23622.05 ft
- Highest point: Rifugio Lagazuoi – 9,029 ft
- Gear weight – 6-15 kg
- Trail map – Download it here.
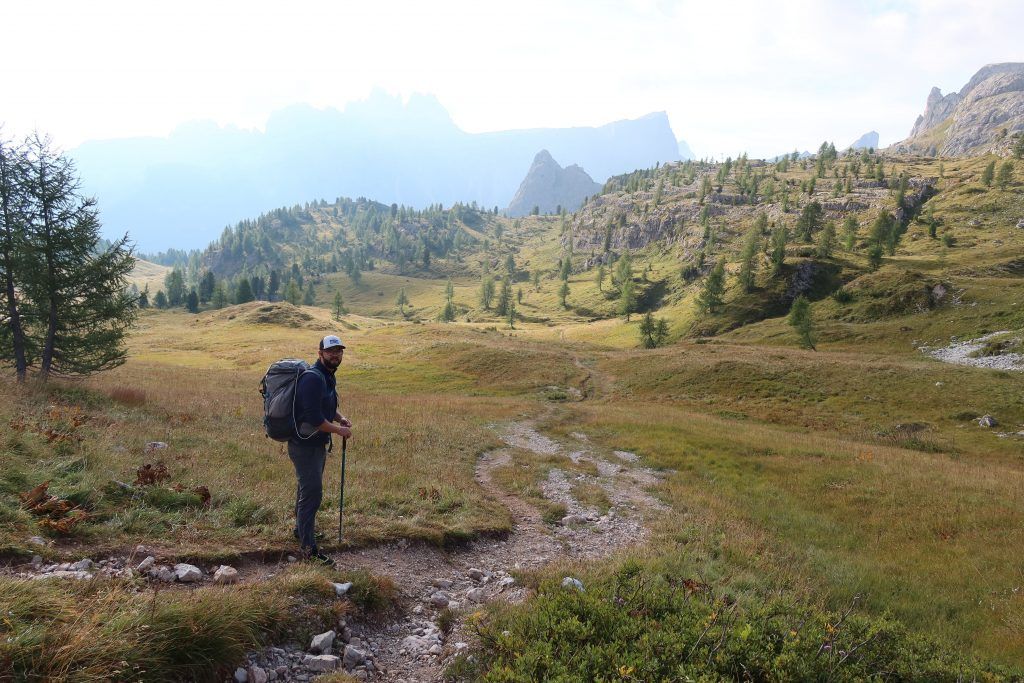
What to expect on the trail
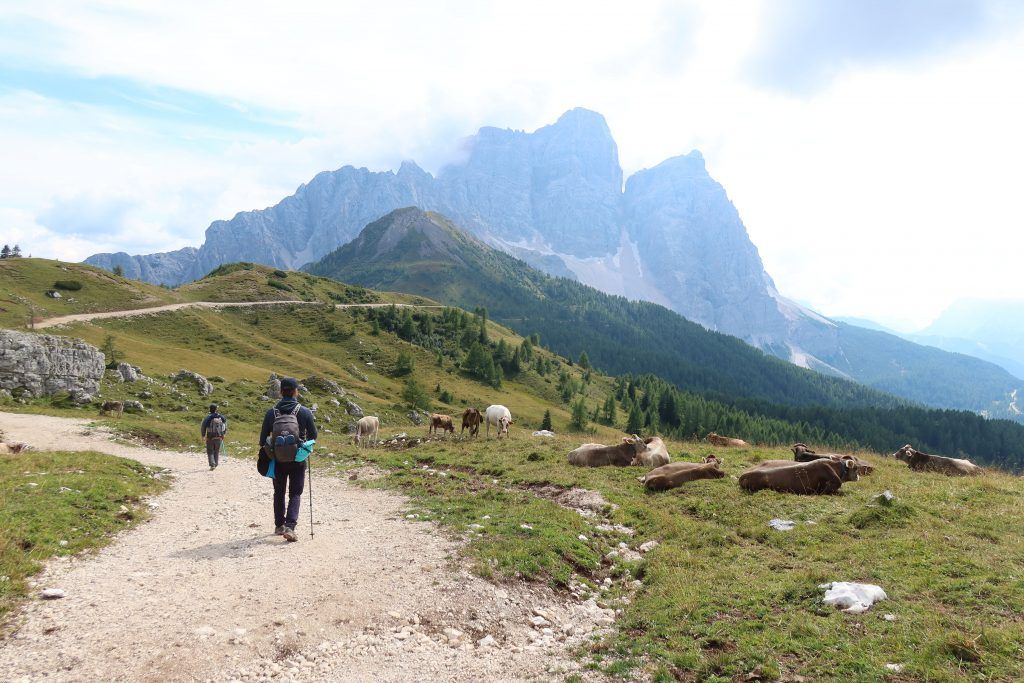
Wildlife
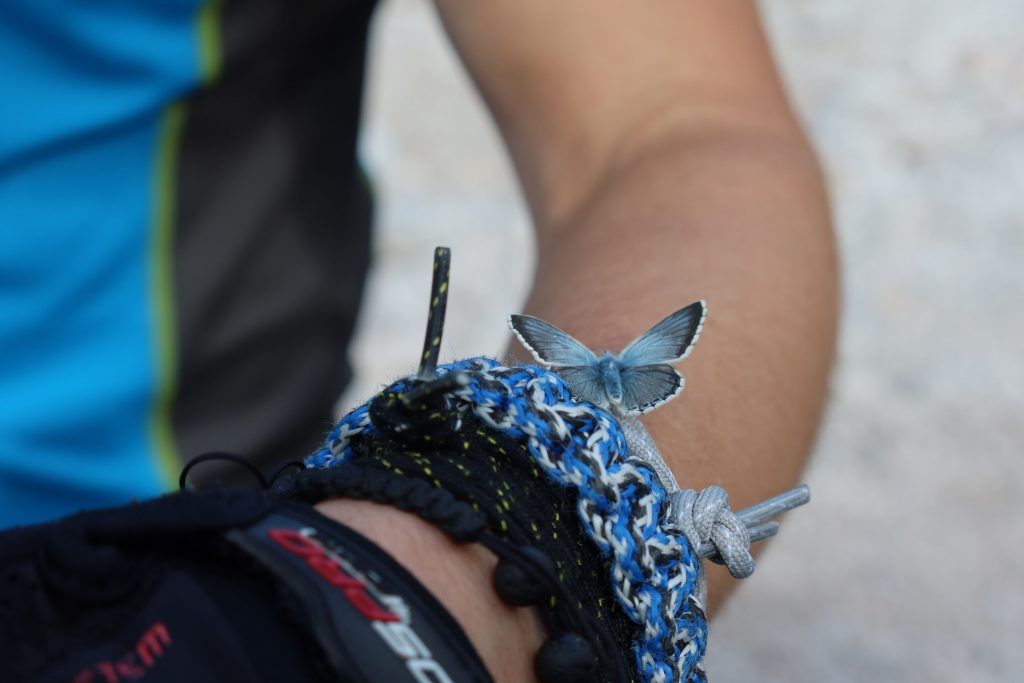
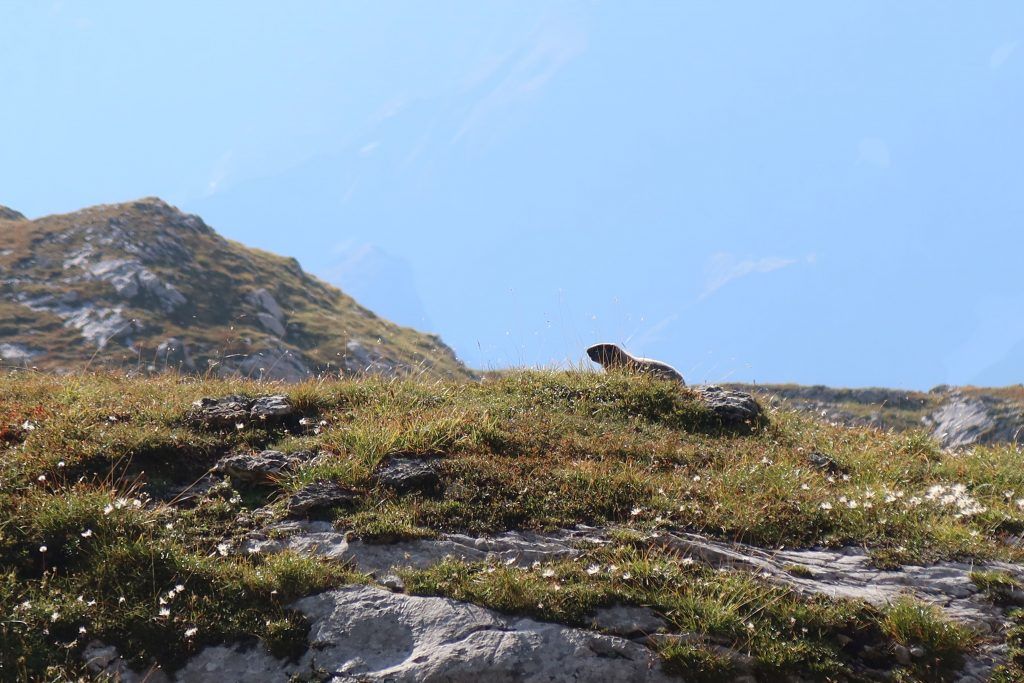

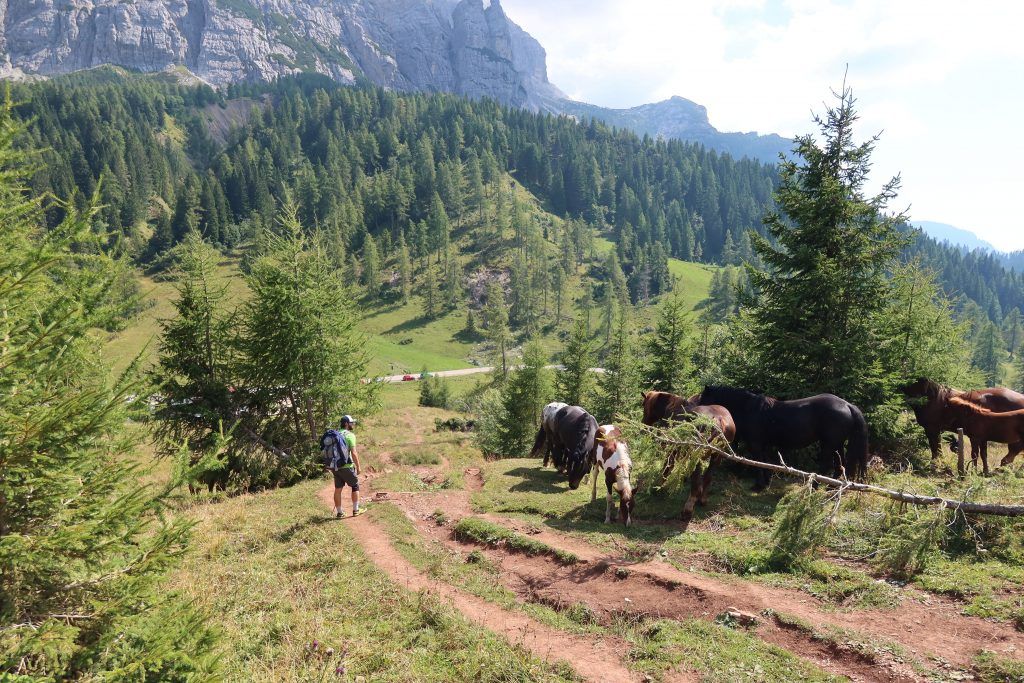
Hikes in the Italian Dolomites will show you a variety of wildlife. You can expect to see chamois, deer and marmots on your hike while also seeing roe deers as well!
However, to increase your chances of seeing wildlife you would have to leave the huts very early in the morning before anyone else.
Hikers

Depending on the stage you are in, you can expect quite a few groups of hikers in the morning that will trickle down to the bare minimum.

However, all of that can be avoided by leaving early around 8 am or late around 11 am.
No Stores
There are no shops on this trek, so you will have to exit the AV1 and head into town to resupply if you do not want to carry it all or eat at mountain huts.
No Official Campsites
There are no official campsites on the main route. Meaning you have only three options here.

- Stay in Rifugios or refuges
Wild camp (bivouac)
Go off route to an official campsite
The rules for wild camping in Italy are difficult to ascertain because there is no single national regulation. Rather, the rules are implemented regionally. In the regions of the AV1 wild camping seems to be permitted, where no specific prohibitions have been put in place by the relevant local authorities. However, there are specific prohibitions in place in the regional parks crossed on the AV1.
To make sure you are not breaking any law, always check the rules with local governing bodies before deciding to wild camp.
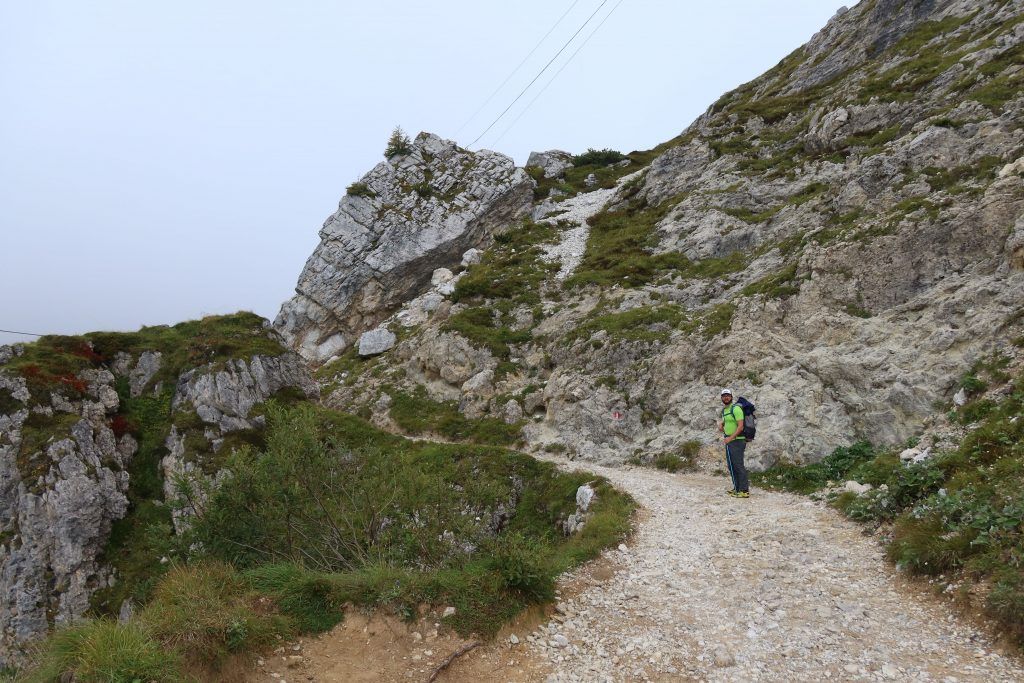
Trail Marking
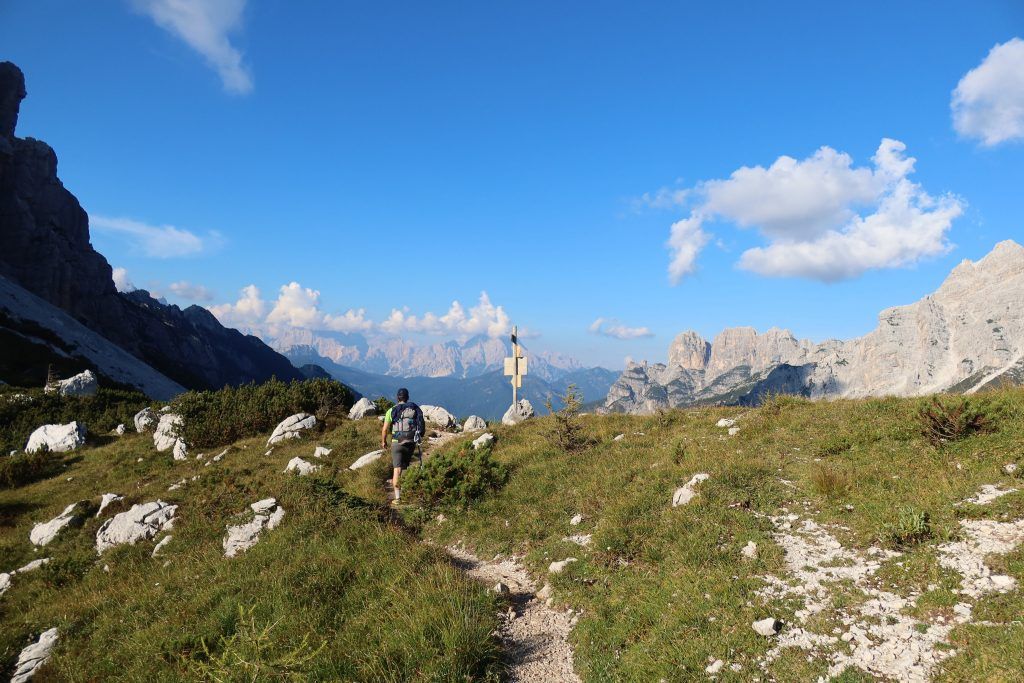
The trail is pretty well marked and maintained. There isn’t just one mark, signs vary from painted arrows The Alta Via 1 is well signposted along the way. The signs range from painted arrows or circles to more specific signs, such as a “1” inside a triangle.
It would take some effort to get lost, but it is essential to have an Alta Via 1 map, compass, and a GPS to still help you navigate. When weather is fierce like snow, strong rain or cloud, it can make markers nearly invisible, which would leave only your map and compass to help you out navigating.
Trail Difficulty
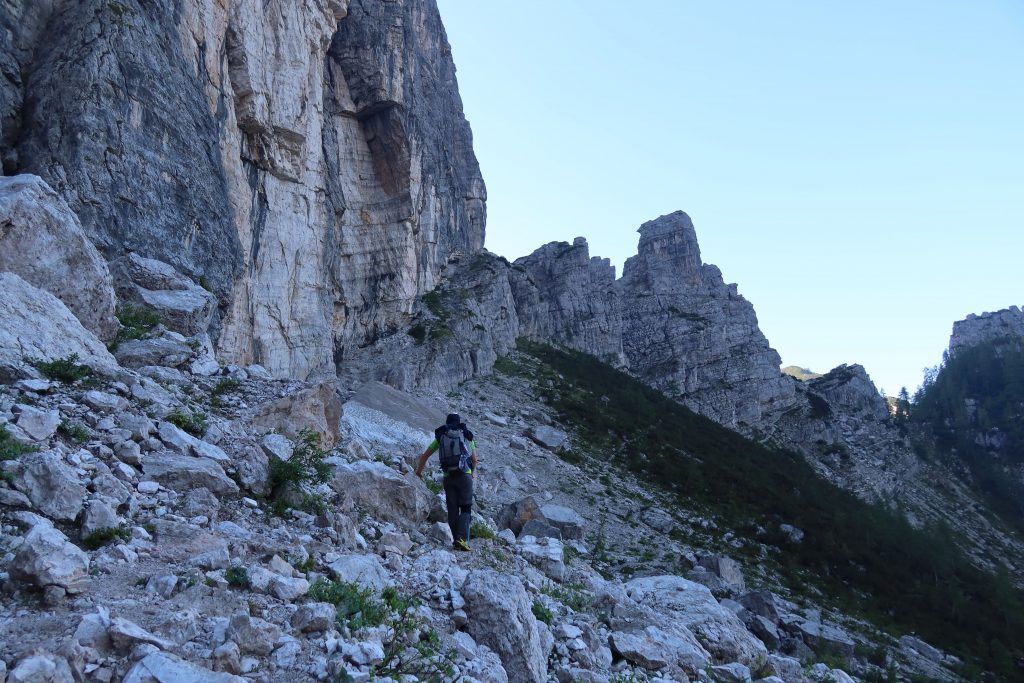
Technically it is not a difficult hike. There won’t be any rock climbing nor huge edges to traverse. The most difficult aspect of the trail is long hiking hours and loose rocks.
It becomes a challenge if you decide to finish the trail in six days. It is six relentless and challenging days and is best reserved for very fit walkers only. It starts hard and stays hard all the way to the end.
Weather
The Dolomites are a mountain range with high elevations, which makes for some of the most beautiful views you will ever see. The climate is relatively dry and predictable but can still change quickly so be prepared for rain or snow anytime during your trip! Mountains can be dangerous so treat them with respect and caution, even if the weather forecast is favorable.
Water
In September the area is pretty dry and there are few sources of water available along the way, if we do not consider refugios.
The Best Time to Take on the Alta Via 1 Dolomites
The hiking season for the Alta Via 1 trek is from mid-June to mid/end of September. I would say depending on the weather it might be possible to hike the trail all the way till the 1st week of October. Depending on the weather and the huts that are open.
The relatively short season is due to weather conditions that limit access to the trails, especially during the snow season.
A typical summer day in the Dolomites is characterized by bright sunshine and clear skies. However, there may be occasional rain showers or afternoon storms. Be sure to bring waterproof and warm clothing, not just shorts.
Escape Routes
The AV1 has many exit points with road access, enabling a hiker to leave the route early, but the availability of public transport at these locations varies. The key exit points are: Rifugio Pederu, Passo Falzarego (near Rif Lagazuoi), Rifugio Scoiattoli, Passow Giao, Passo staulanza, Passo Duran (no public transport), and Malga Di praperet. During stages, escaping is difficult and normally, once started you are committed. You can check the latest bus timetables to plan your trip on Dolomiti Bus.
How To Get to / Leave the trail
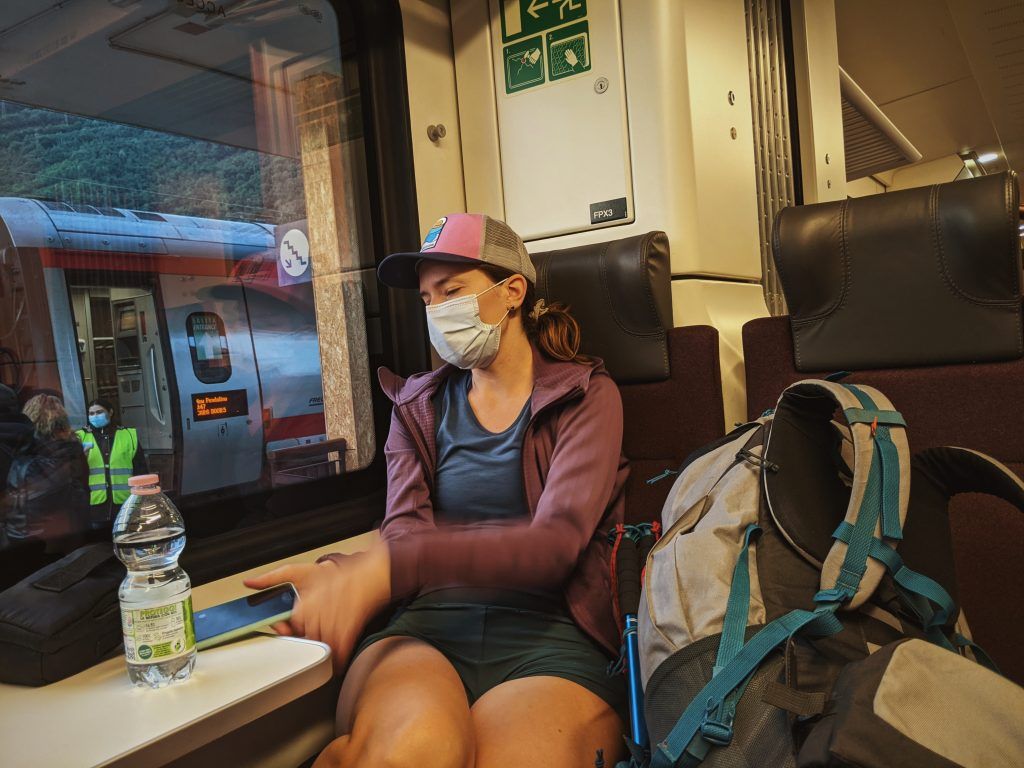
The trailhead of the Alta Via 1 route is in Lago di Braies in South Tyrol in northern Italy. There are no direct flights to the start of the trail. Meaning you will need to fly into the nearest airport and get from there to the starting point. Which is a long ride for most of the time. The easiest way to get from the airport to the starting point of the Alta Via 1 is using public transportation.
There are three entry points. Flying to Venice, Bergamo/Milan, or Innsbruck (Austria). All three will require a night over before you can start the trail.
Getting to the trail start from Venice
Once you exit the baggage claim area in Venice take a left and find the ATVO bus ticket line. There you can purchase a one-way ticket for the Cortina Express. The line runs four times per day and the ticket costs around $28 per person. The bus ride to Cortina d’Ampezzo takes about 2 hours.
You can either spend the night at Cortina d’Ampezzo or take the next bus to Dobbiaco and spend the night there, closer to the trailhead. Either way, at some point, you will have to get to Dobbiaco.
To get there, take the SAD bus, line 445 (make sure that it has “Dobbiaco” displayed on it). You can get the ticket on the bus for $5 per person and the ride takes approximately 50 minutes. Once there, you will take line 442 to Lago di Braies/Pragser Wildsee. This ticket also costs $5 and the ride takes about half an hour.
Getting to the trail start from Bergamo/Milan
The best way to reach the start of the hike from Milan or Bergamo airport is by taking a four-hour bus to Bolzano – Bozen.
Then, layover in the city before taking a train to Villabassa Niederdorf with a changeover in Maranza Meransen. It takes around two hours.
Once you arrive at Villabassa Niederdorf, you will take line 442 to Lago di Braies/Pragser Wildsee. This ride takes about half an hour.
Getting to the trail start from Innsbruck (Austria)
There are two ways of getting from Innsbruck to the start of the hike.
By bus from Innsbruck airport directly to Villabasa.
By train from Innsbruck Hbf via Fortezza/Franzensfes to Villabassa Braies/Niederdorf Prags
Once you arrive at Villabassa Niederdorf , you will take line 442 to Lago di Braies/Pragser Wildsee. This ride takes about half an hour.
Leaving the trail
The Alta Via 1 ends at the La Pissa bus stop. Here you can catch a 20-minute bus ride to Belluno. You can buy your ticket on the bus. Once in Belluno, you can continue your journey by train or bus to your final destination.
What do I Need to Bring on a Hiking Trip? And how should I Prepare?

Core Gear
There are 2 essential questions you want to answer here yourself before deciding what you need to bring.
How much money do you want to spend on the trail?
How heavy of the backpack do you want to have?
Rich man’s gear
If you decide to eat and sleep in the huts. You would only need to carry enough cash to cover hut fees and the bare minimum in terms of gear:
Backpack
Shorts
Pants
Tshirts (3x)
Long sleeve shirts
Fleece
Windbreaker
Rain cover
Thermo pants (for sleeping)
Sleeping bag and sleeping bag liner (because of covid huts do not provide sheets)
Slippers
Hat
Sunglasses
Snacks
Water bottle
Map
Compass
Guidebook – Either Cicerone or Trekking the Dolomites AV1 (has actual tabacco maps)
Walking poles
Travel towel
First aid kit
Sunscreen
Toiletries
Backpack shouldn’t weigh more than 6kg in this case
Middle-class man
If you decided to rent just a bed and cook your own food. Then you will need the same as above plus:
Cooking set
Dishes
Food for 5-6 days.
Backpack shouldn’t weigh more than 11kg. This is for a 6-day hike.
Poor man’s gear
If you’re planning on camping on this multi-day, then you’ll also need:
Sleeping pad
- Tent – though officially it is illegal to camp in Italy. For Dolomites, you would have to check exactly what’s permitted and what is not, as wild camping may be permitted off the trail.
Additional Things to take
Insurance – Make sure your insurance includes helicopter transportation, in case you get injured where cars are not able to come and pick you up.
Cash/Cards – Make sure you have enough cash for the whole trip. Most places take only cash.
Additional Things to know
Phone coverage is similar to other mountains, it’s available in some spots but not in others.
Language – People most likely will speak Italian, German and reluctantly English.
- GPS – Might have patches where it goes awry.
Where to stay, what’s the cost?
If you decide to stay in the huts, to ensure that you secure your accommodation of choice, book as early as you can. Many trekkers start booking in October for the following summer.
Another great tip when writing emails, is to write in Italian or German with Google translate. There is a rumor going around that these emails are answered faster.
Book weekend stays first since most Italians come out to play into the mountains on the weekends and overnight spots get booked pretty quickly.
If you decide to camp in the national park, then that is your choice to break the rules. I only ask that you leave no trace after the night out. No trash, no poop and no fires.
By law the huts have to accept you late at night and can’t turn you down even if it is full. You might need to pay for it but they must find you a place to sleep even if on the dinner table. However, I suggest printing out this law in case they are reluctant to let you in.
As for where to stay during this 6-day itinerary and cost please check below. Also when booking a hut there are three options. Full price includes breakfast and dinner. Half board bed and breakfast and only bed. Also, you can choose from private rooms to dormitory. Prices change accordingly.
Day 1
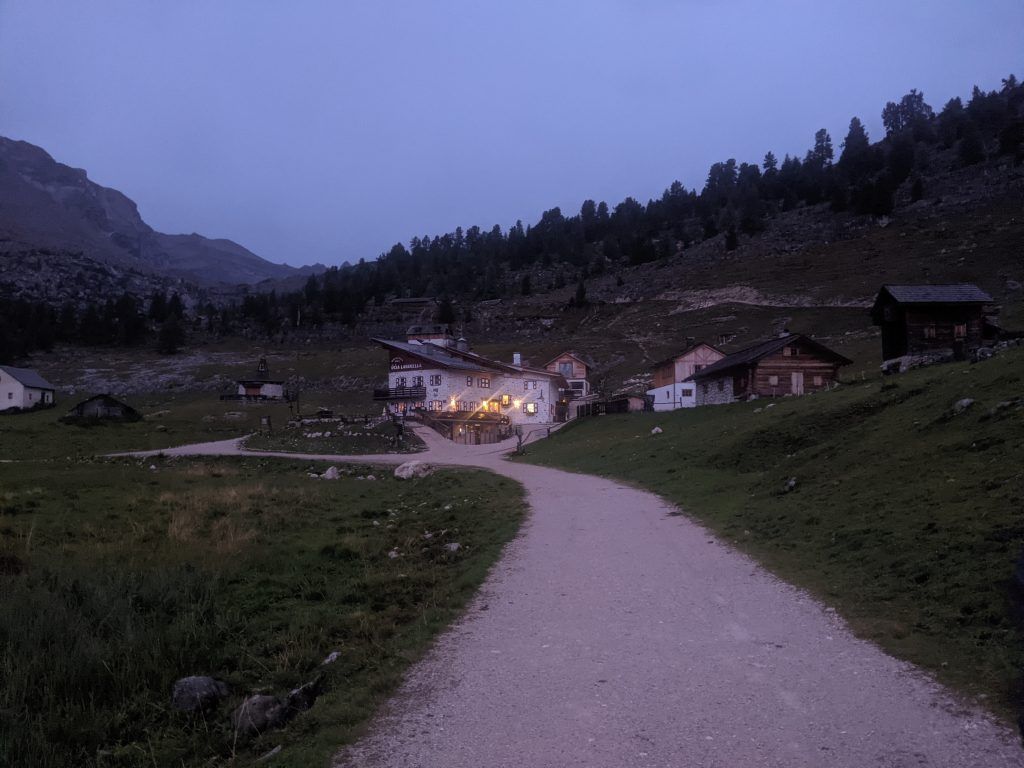
Rifugio Fanes
Phone – +390474453001, +390474501097, +393483900660
Email – info@rifugiofanes.com
Website – www.rifugiofanes.com
Price – $75 – $115
What’s great – food!
Rifugio Lavarella
 Phone – +390474501094, +390474501079
- Email – rifugio@lavarella.it
- Website – www.lavarella.it
- Price – $50 – $65
- Whats good – Hot showers
 Phone – +390474501094, +390474501079
Ucia dles Muntagnoles
- Phone – +393475214753
- Website – www.muntagnoles.com
- Price – not sure.
Day 2
Rifugio Cinque Torri
- Phone – +3904362902, +390436866853
- Email – rifugi5torri@dolomiti.org
- Website – www.5torri.it
- Price – $48 – $82
- What’s great – Views
Rifugio Scoiattoli
- Phone – +390436860294
- Email – info@scotoni.it
- Website – www.scotoni.it
- Price – $54 – $80
- What’s great – Views and great food.
Day 3
Rifugio Pala Favera
- Phone – +39 0437789133
- Email – info@palafavera.com
- Website – https://www.palafavera.com/en/
- Price – $62 – $100
- What’s great – Near a bust stop and easy hike up
Day 4
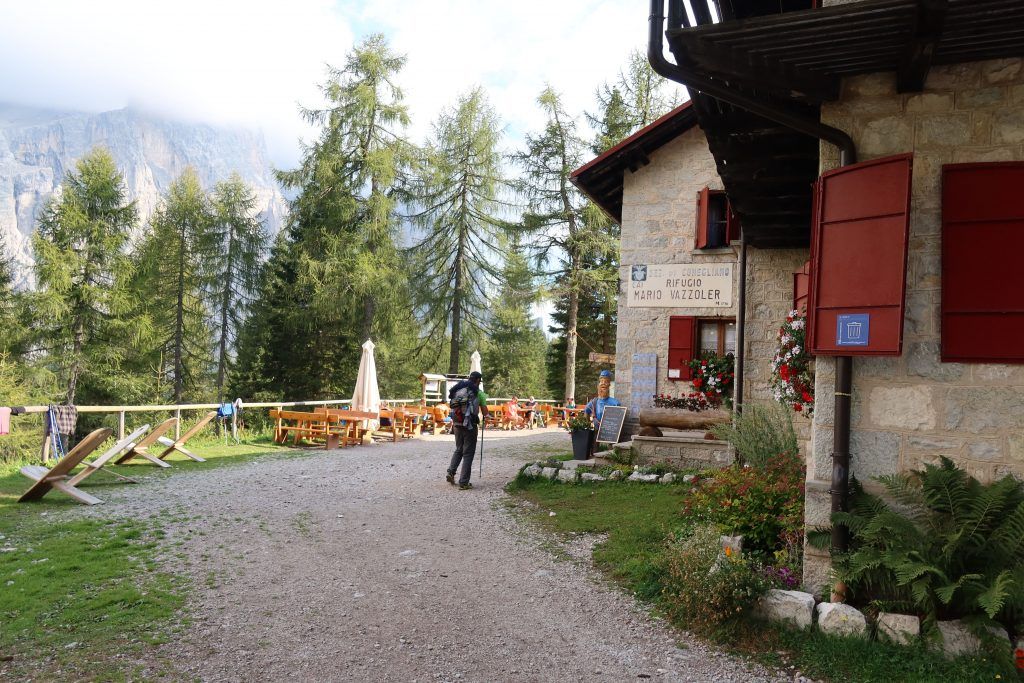
Rifugio Vazzoler
- Phone – +39 3401612828
- Email – refugevazzoler@gmail.com
- Website – https://www.rifugiovazzoler.com/
- Price – $34 – $75
- What’s great paid hot water tasty sweet liqueur
Day 5
Rifugio Pramperet
- Phone – 0437 1956153
- Email – info@rifugiosommarivaalpramperet.it
- Website – https://www.rifugiosommarivaalpramperet.it/
- Price – $56 dormitory
- What’s great – paid hot water, tasty sweet liqueur.
6 Day Itinerary and hiking stages
Day 1 Lago di Braies – Rifugio Fannes

It is probably the hardest day of all. Since you are hiking 12.4 mi on the first day with all your gear and your body is not yet fully prepared for the difficulty. However, I believe it is essential to hike this length so you could have an easier second day and a short hike on day 4 so you could have a semi rest day.
Day stats at a glance:
- Total MI hiked – 12.4 mi
- Total hours hikes – 7.3 h (not including rest time)
- Total Ascent – 5059 ft
Stage 1 Lago Di Braies – Rifugio Biella
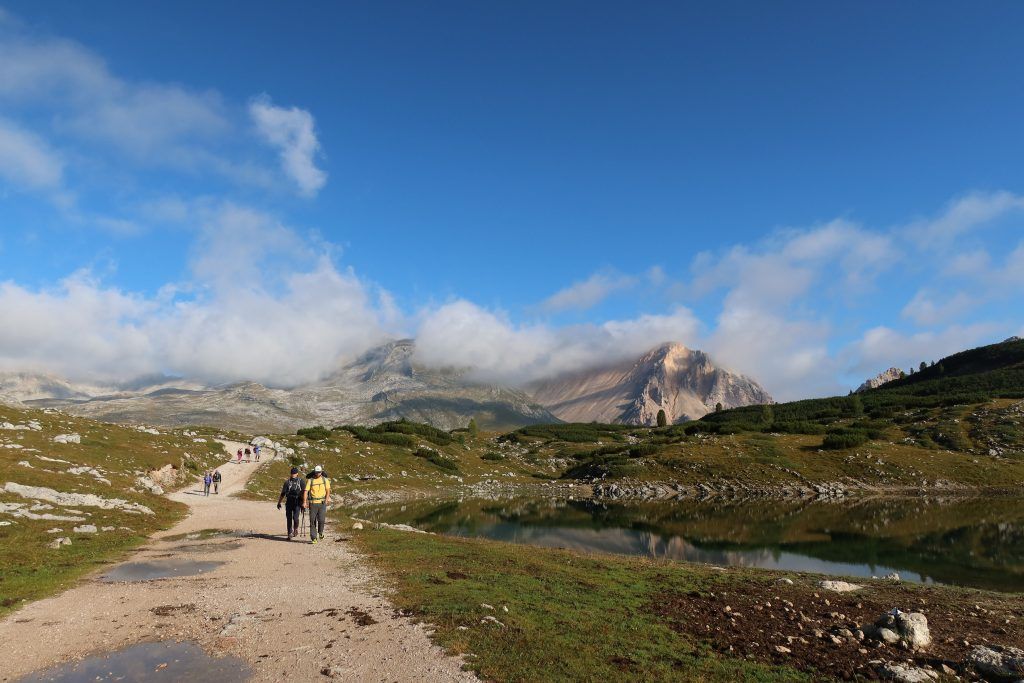
The first 20 minutes of this hike will leave your breath taken away as you take in the beauty that surrounds Lago di Braies. The views from high up on mountain tops are nothing short of extraordinary and make for an incredible introduction to any alpine trekking adventure!
- Total MI hiked – 4.2 mi
- Hiking Time (Including rest) – 3.15 h
- What to expect – Nonstop climb. Ascent 3047 ft
- Water sources – Along the route there are no water sources. Take enough water to reach Rifugio Biella.
Stage 2 Rifugio Biella – Rifugio Sennes
The journey continues with the gentle descent on an old military road in a moonlike valley. However, it soon becomes lost among winding paths through grassy hillocks that are more spectacular than you could have ever imagined!
- Total MI hiked – 1.8 mi
- Hiking Time (Including rest) – 1 h
- What to expect – A beautiful and easy stroll.
- Water sources – Either at Rifugio Sennes or 328 ft before it, there is running water for cows.
Stage 3 Rifugio Sennes – Rifugio Pederu
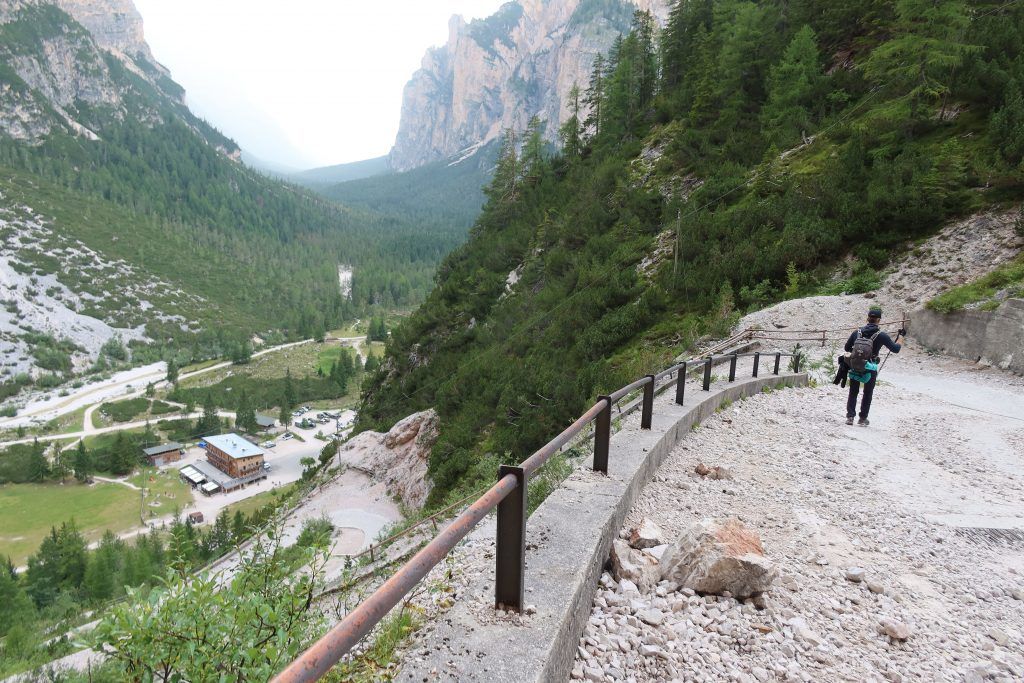
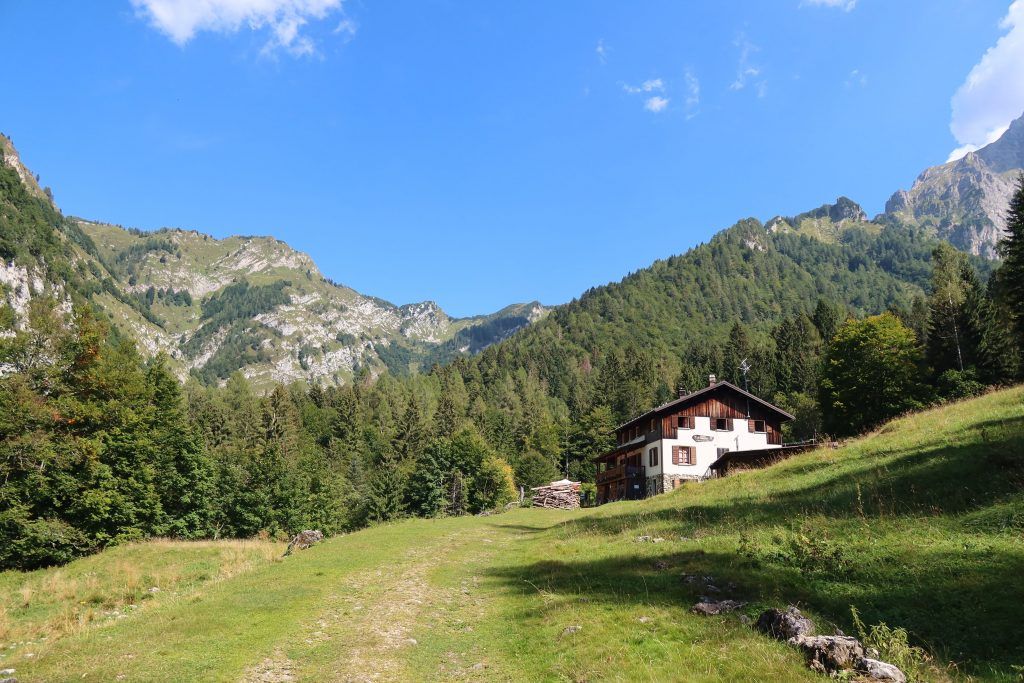
As you enter stage 3 of the hike you will be met by the first steep descent of the hike. The trail takes you through wonderful scenery as you head across pastures and down through the forest before reaching Rifugio Pederu.
- Total MI hiked – 2.98 mi
- Hiking Time (Including rest) – 1.15 h
- What to expect – A steep climb down.
- Water sources – If you are hiking during mid-June you might find some water in this river. However, in September it was dry.
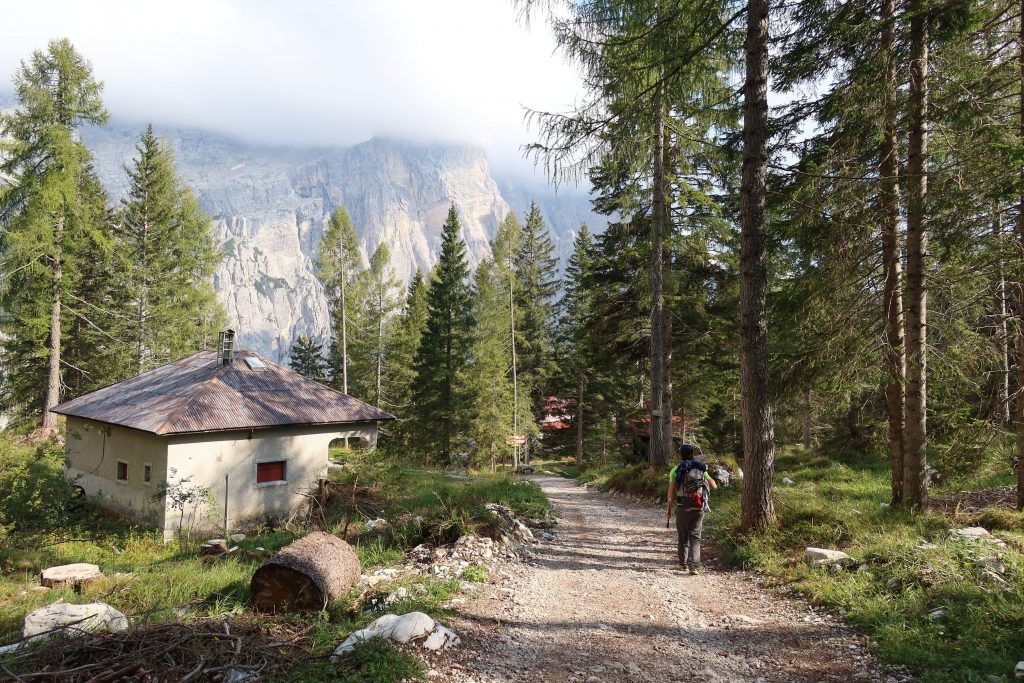
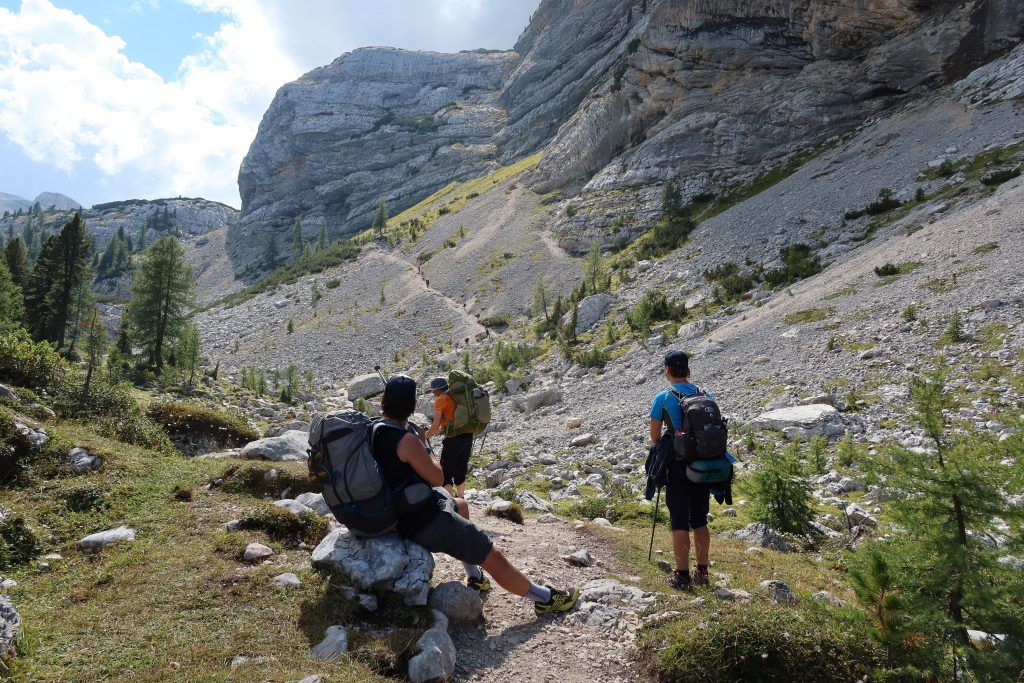
Stage 4 Rifugio Pederu – Rifugio Fannes
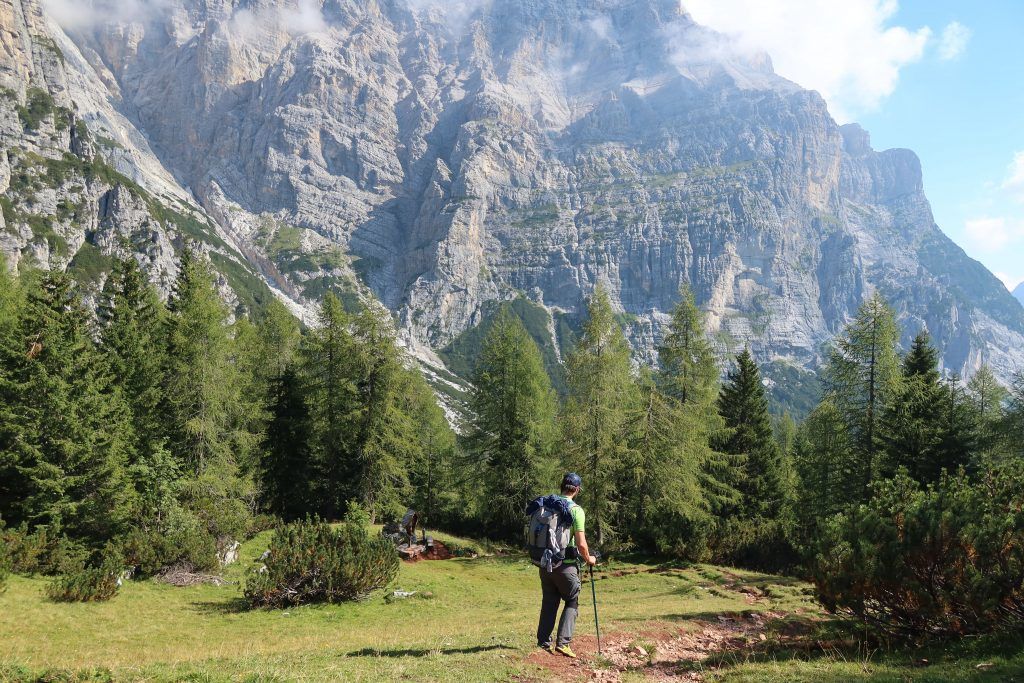
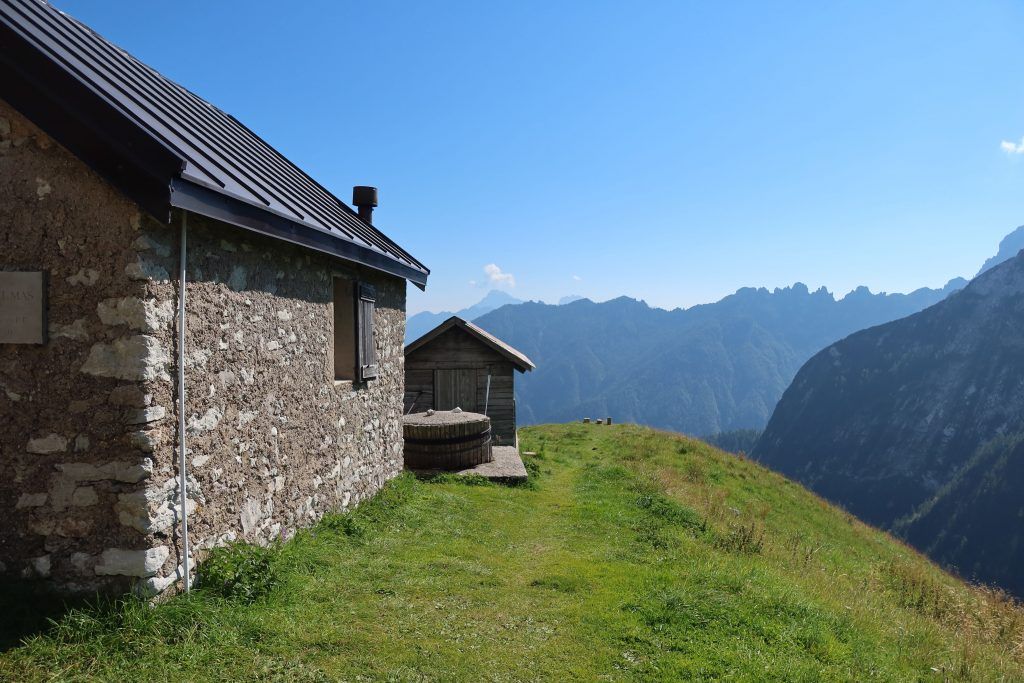
The last stage for the day will give you a nice light uphill climb through a nice valley with jagged mountain tops on the right and left. Leading to a hidden valley where an old village stands guard over hikers in need.
- Total MI hiked – 3.2 mi
- Hiking Time (Including rest) – 2 h
- What to expect – Tired legs and constant incline
- Water sources – At Rifugio Fannes
Day 2 Rifugio Fannes – Rifugio Cinque Torri

The next day is all about finding your rhythm – you will have two back-to-back passes to climb. If you feel exhausted from the first day, make sure to leave early and take a shortcut at the end of the trail by taking a cable car. You’ll save yourself two hours of climbing! Make sure you get to it before 5.30!
Day stats at a glance:
- Total MI hiked – 12.2 mi (if you do not take a funicular)
- Total hours hikes – 9.40 h
- Total Ascent – 5167 ft
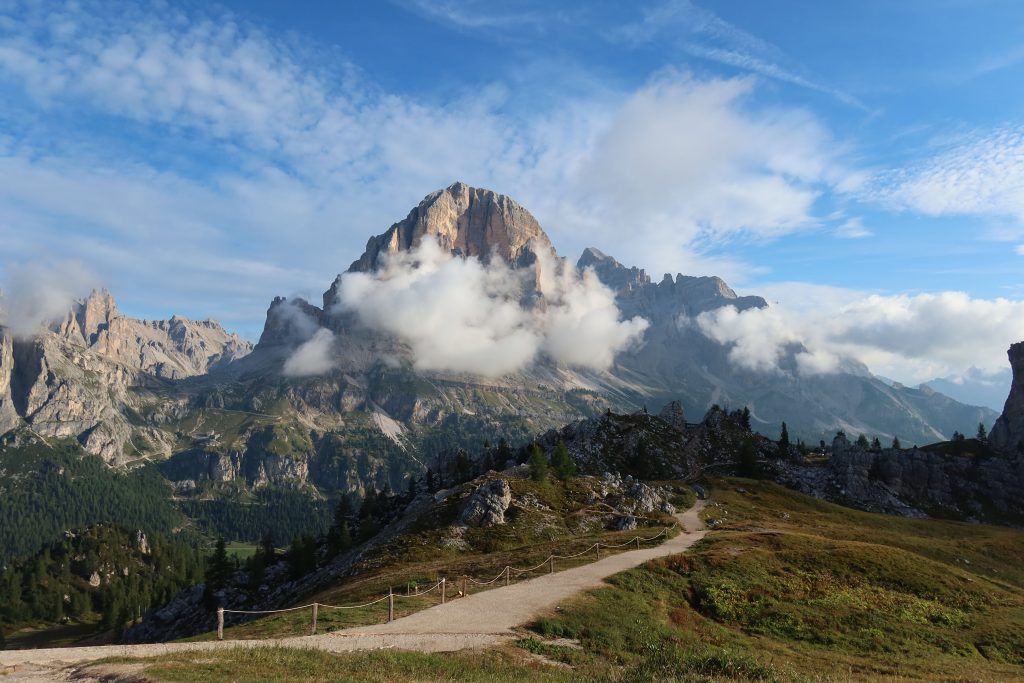
Stage 1 Rifugio Fannes – Rifugio Lagazuoi
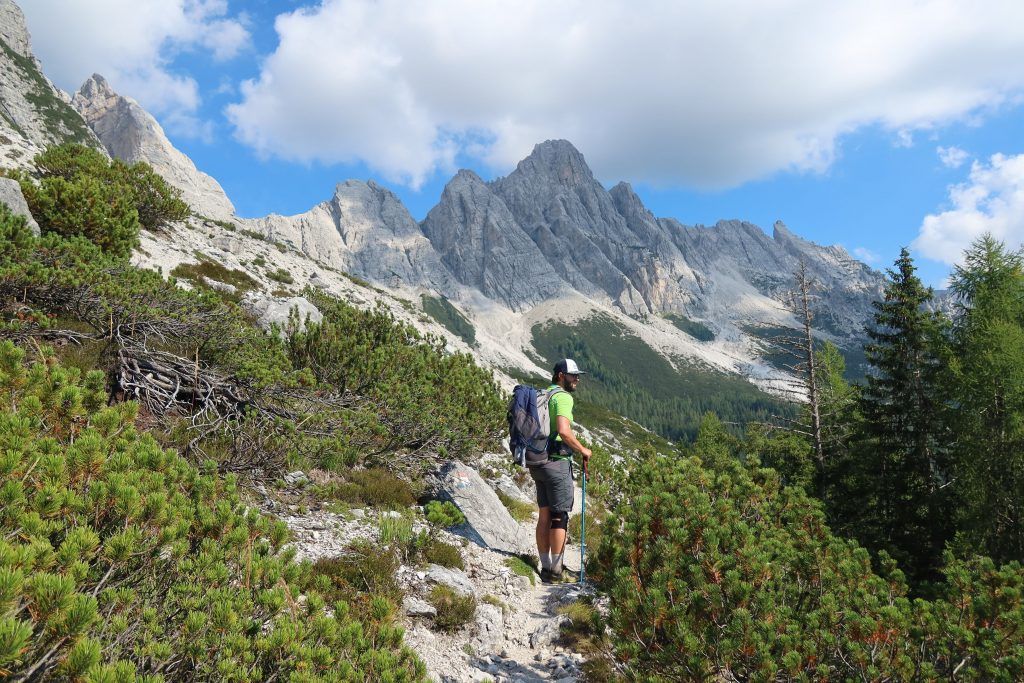
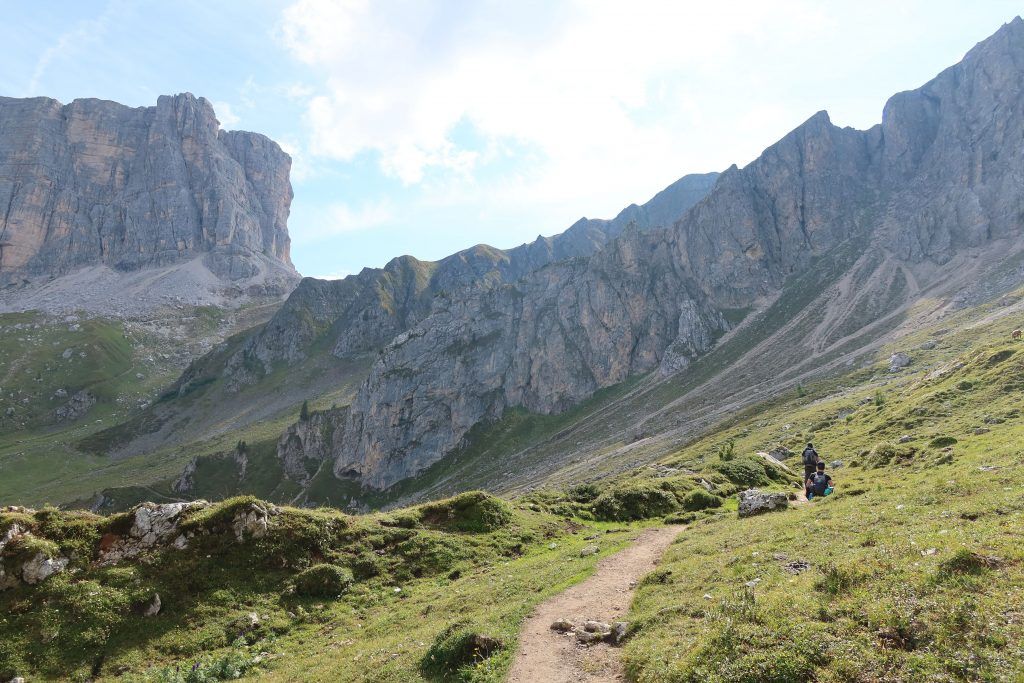
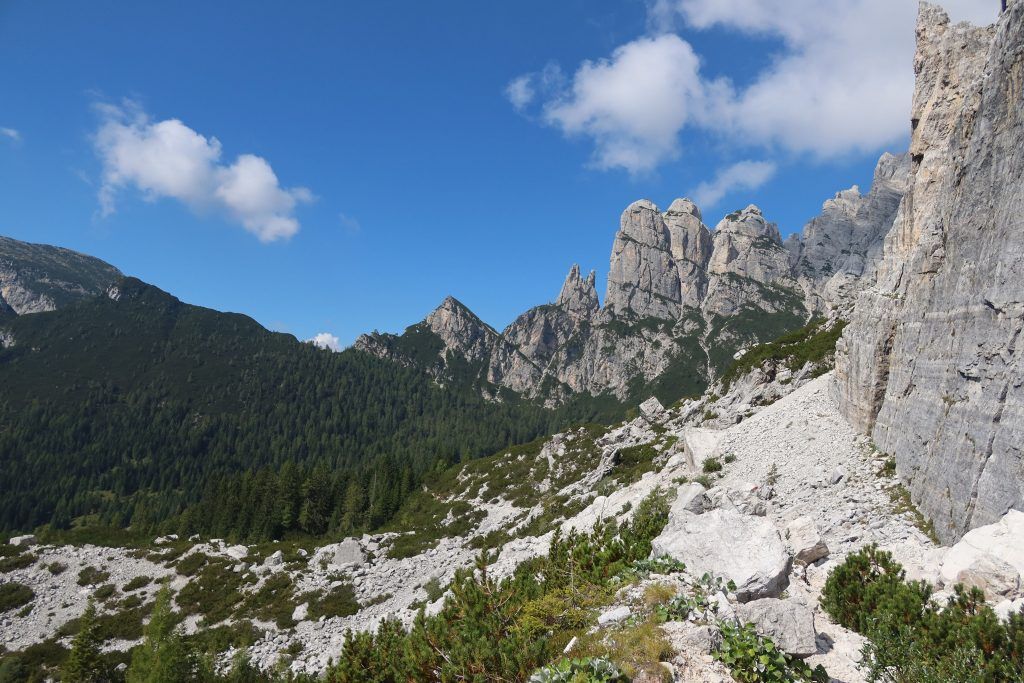
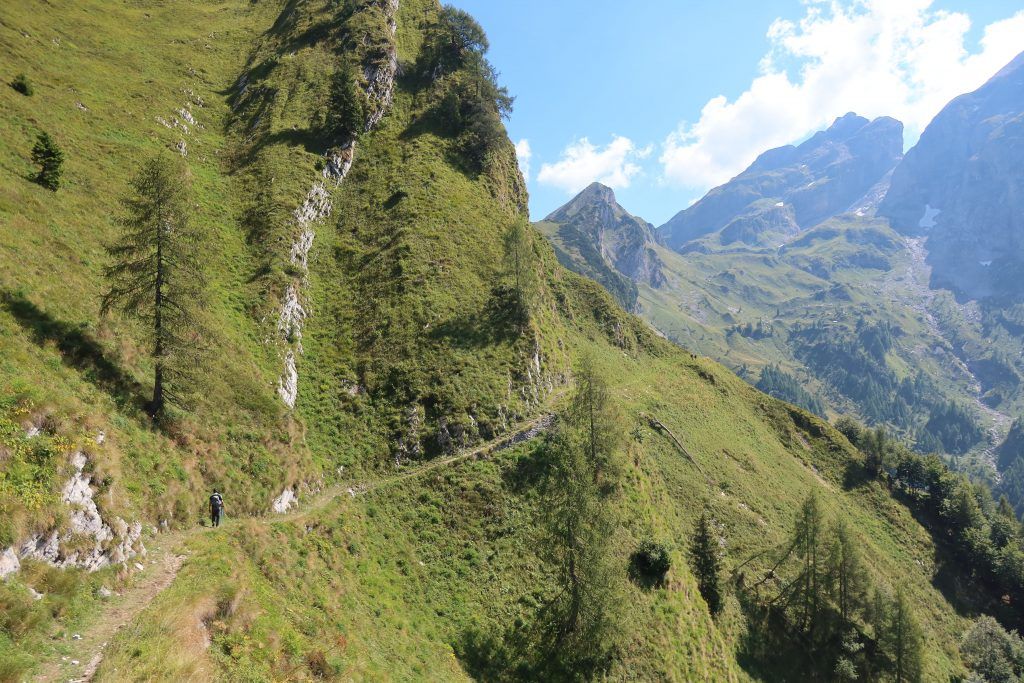
One of the highlights of the AV1 in the Alps. After a short climb, you will access a magnificent hanging valley. Hiking through green pastures and jagged peaks. However, a short while later the trail becomes more difficult leading to the first climb that leads to a pass with a steep climb down which leads to a barren valley and another long climb up to Rifugio Lagazuoi.
- Total MI hiked – 7.8 mi
- Hiking Time (Including rest) – 5.40 h
- What to expect – 2 mountain passes and a steep downhill climb
- Water sources – In between the two passes, there is a small lake. Good water for drinking as long as you boil it down
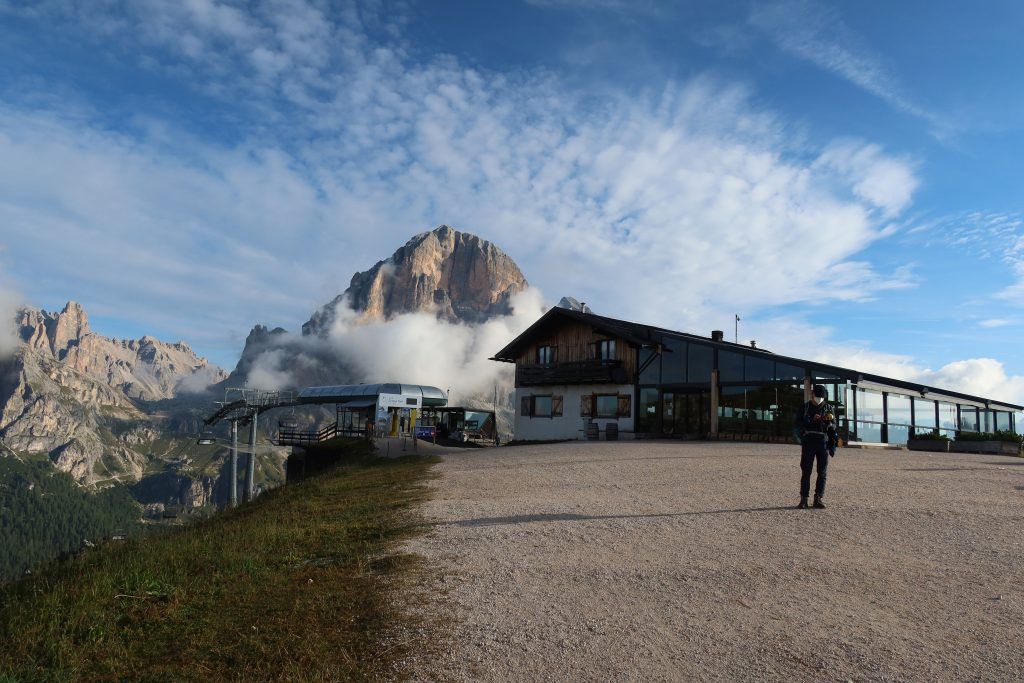
Stage 2 Rifugio Lagazuoi – Rifugio Scoiattoli
A unique view is seen at this stage which is typical of the northern Dolomites. Pale Jagged peaks enclose valleys and plateaus of limestone and grass. As you descend the terrain gets softer with less rock and more grass and forest.
- Total MI hiked – around 4.3 mi
- Hiking Time (Including rest) – 4 h or 2 h if taking a funicular
- What to expect – An easy climb down
- Water sources – N/A
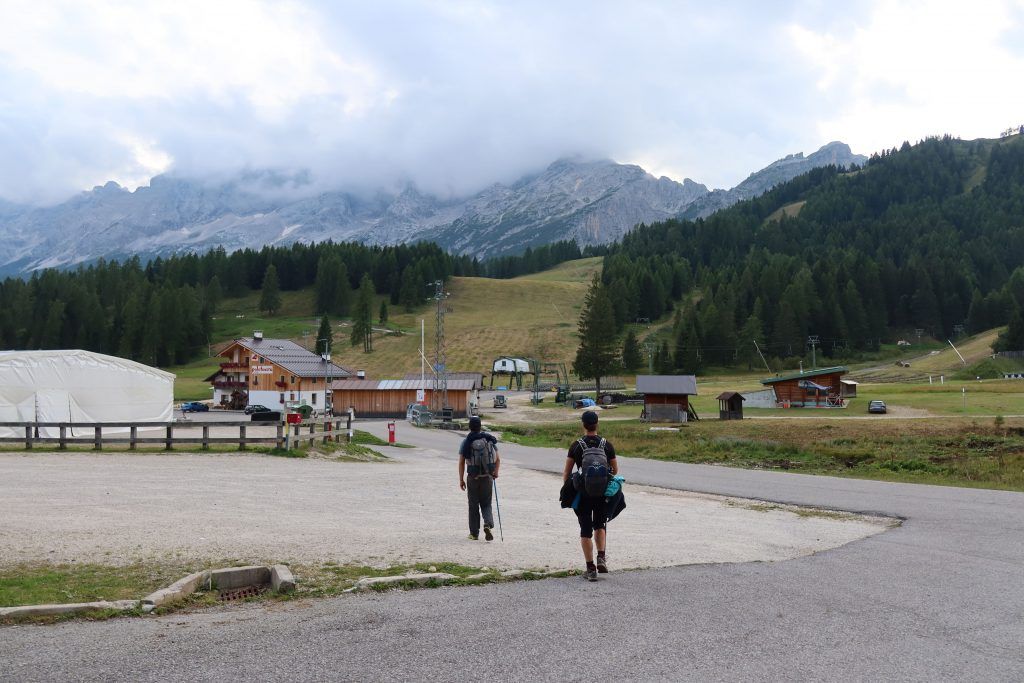
Day 3 Rifugio Scoiattoli – Rifugio Pala Favera
It’s a nice, long-distance hike. Without many steep inclines or declines to worry about! The hardest part is the fact that you will have to hike it all – it can take as little time as you want.
I’m so sorry but I forgot to measure the time it took me to hike some of the stages. But don’t worry, because luckily for you I have total hours hiked!
Day stats at a glance:
- Total MI hiked – 13.35 mi
- Total hours hikes – 9.3 h
- Total Ascent – 1840 ft
Stage 1 Rifugio Scoiattoli – Passo Giau
A beautiful hike across the edge of the mountain wall with spectacular views of the mountains in front, back and on the sides.
- Total MI hiked – N/A
- Hiking Time (Including rest) – N/A
- What to expect – A nice hilly hike
- Water sources – A stream at the start of the hike
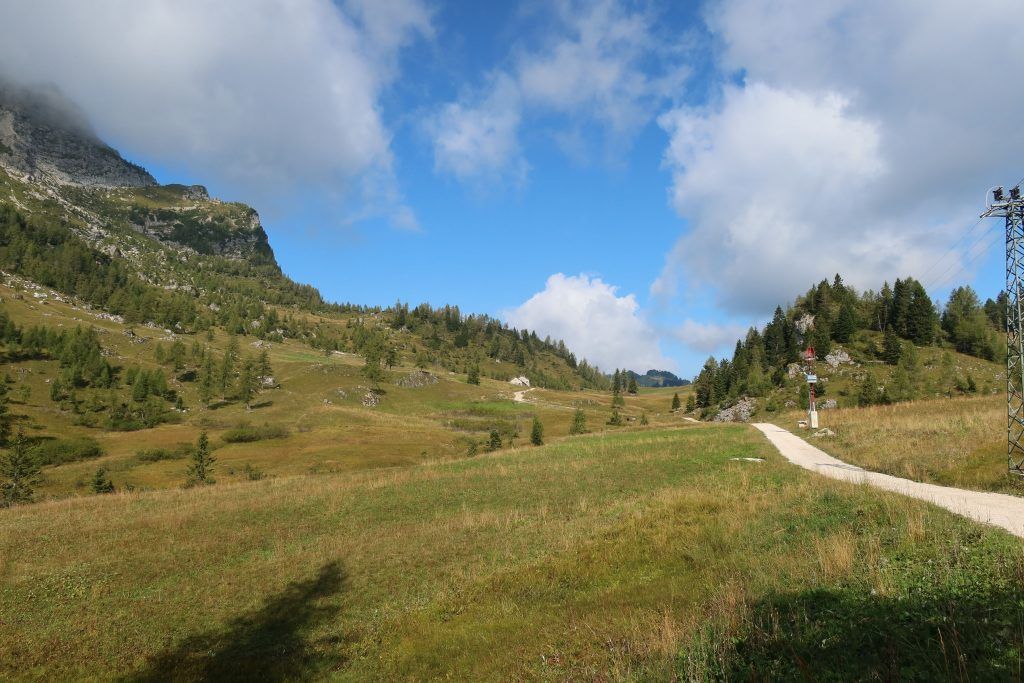
Stage 2 Passo Giau – Forcella Ambrizzela
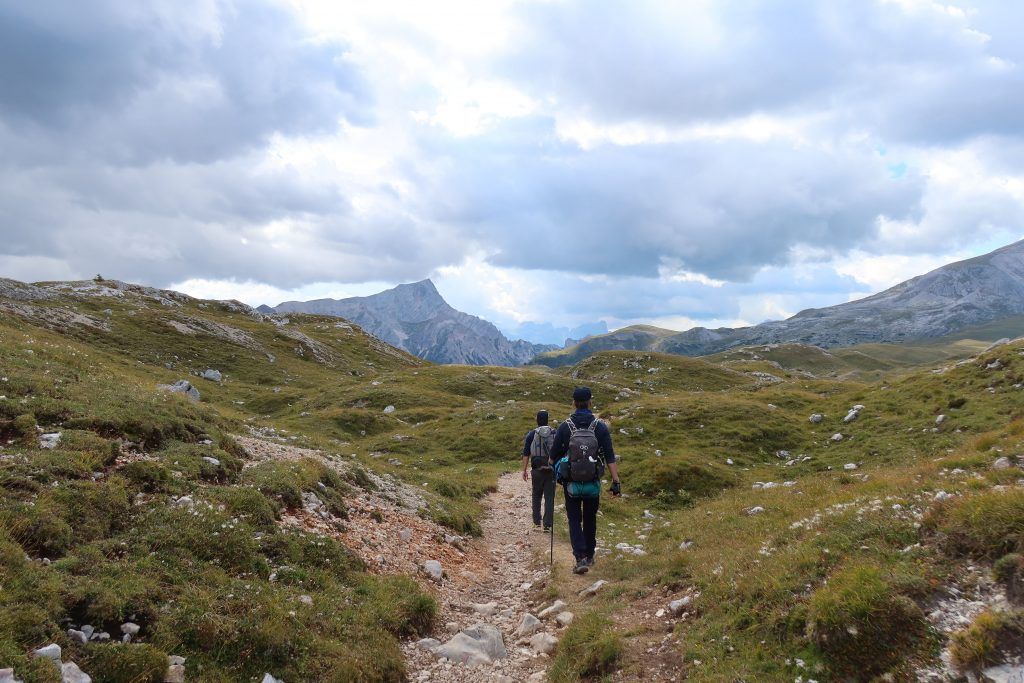
An incredible high route takes you across grassy slopes decked with wildflowers and surrounded by magnificent peaks.
- Total MI hiked – – N/A
- Hiking Time (Including rest) – N/A
- What to expect – A climb up the mountain and a beautiful light hike in the valley
- Water sources – N/A
- Camping spots – N/A
Stage 3 Forcella Ambrizzela – Rifugio Citta di Fiume
A scenic hiking stage via road to Rifugio Nuvolau and Rifugio Citta di Fiume and a good place for a coffee.
- Total MI hiked – N/A
- Hiking Time (Including rest) – N/A
- What to expect – A light hike almost in a straight line with a decline in the last few mi
- Water sources – Huts along the way
- Camping spots – N/A
Stage 4 Rifugio Citta di Fiume – Pala Favera
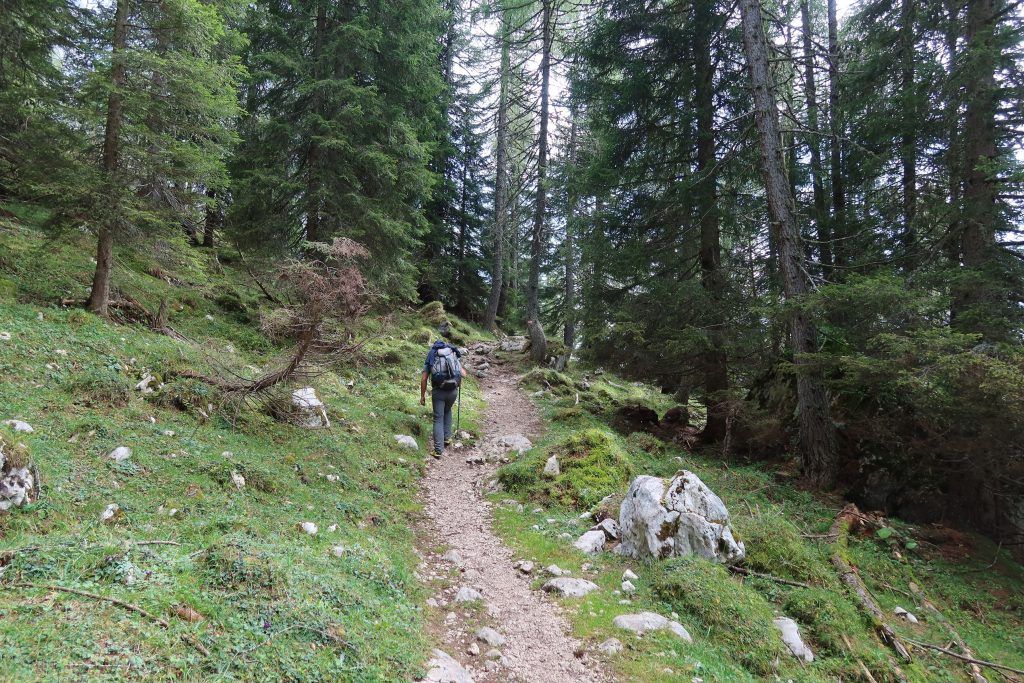
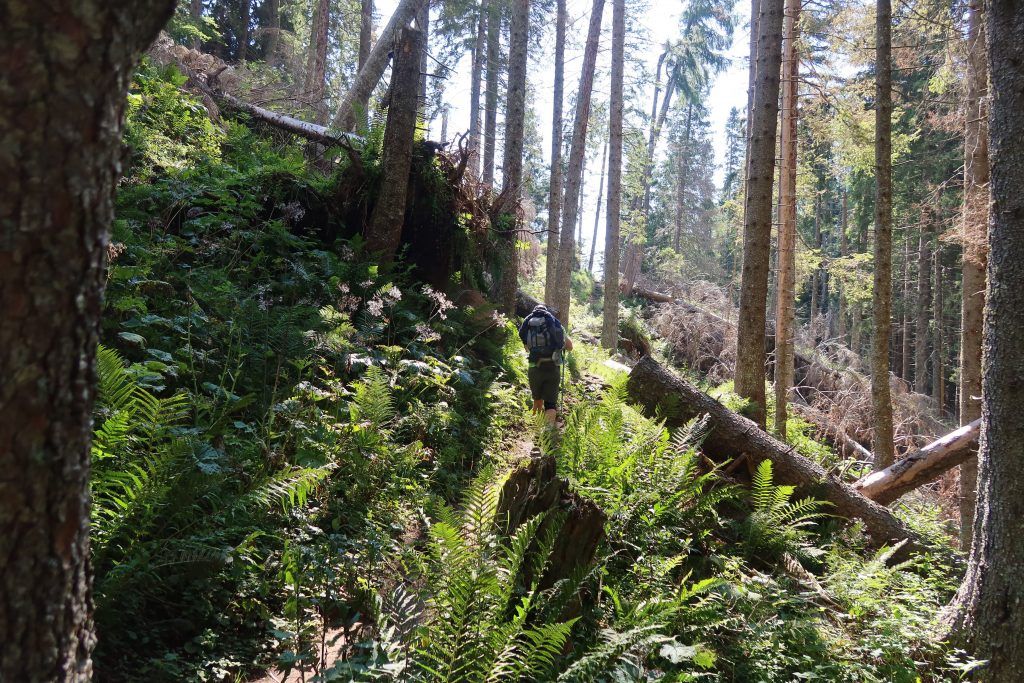
The longest stretch you will have on this trail hiking in the forest. Besides a short bit on the side of the rocks the rest of the trail will be led in a nice forest.
- Total MI hiked – N/A
- Hiking Time (Including rest) – N/A
- What to expect – Forest for the most part of the hike.
- Water sources – N/A
- Camping spots – N/A
Day 4 Rifugio Pala Favera – Rifugio Vazzoler

Today’s hike will be a rest day. It only takes 8 mi to cover the entire distance today!
Day stats at a glance:
- Total MI hiked – 8.45 mi
- Total hours hikes – 5.3 h
- Total Ascent – 2969 ft
Stage 1 Rifugio Pala Favera – Rif Coldai
A short climb up to Rif Coldai. Not much to say.
- Total MI hiked – 1.8 mi
- Hiking Time (Including rest) – 1.3 h
- What to expect – Uphill climb
- Water sources – N/A
- Camping spots – N/A
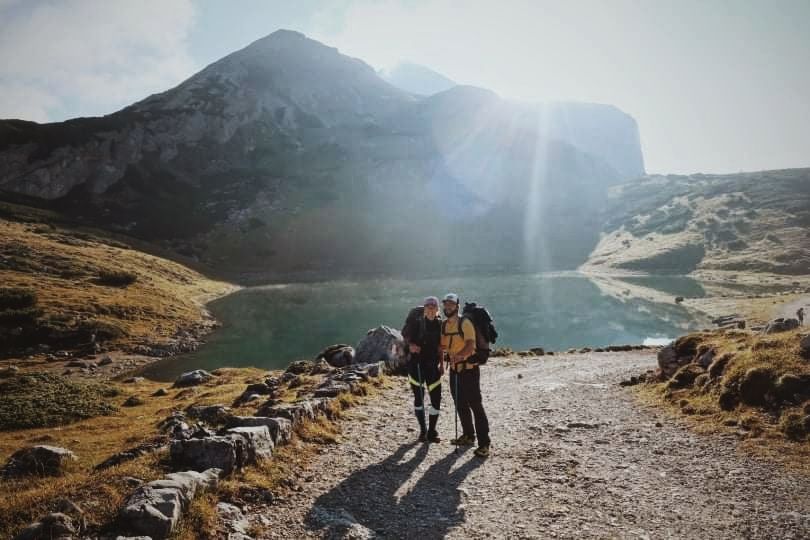
Stage 2 Rif Coldai – Rifugio Tissi
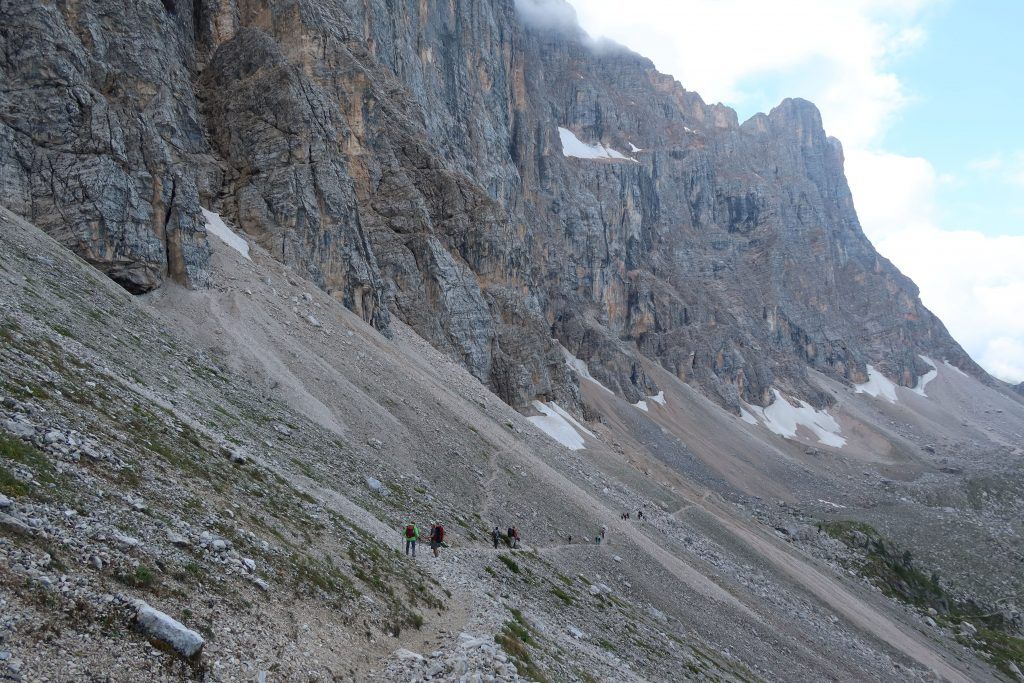
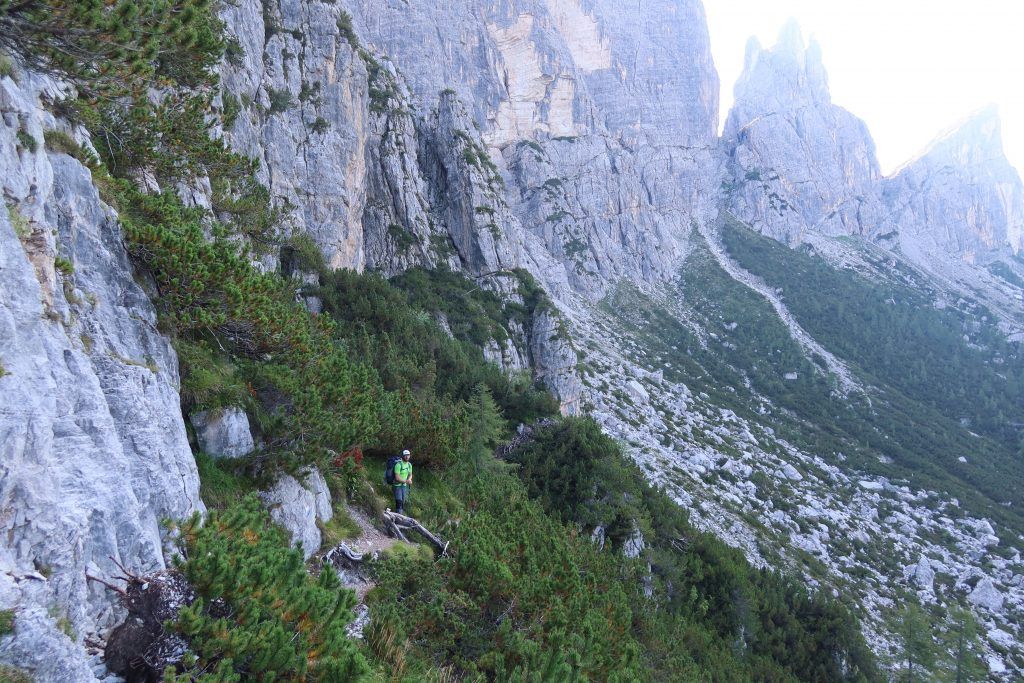
This stage is another AV1 Highlight. A short hike brings you to a scenic Lago Coldai, where if you are brave then jump in for a swim! Next we have some amazing balcony paths that skirt below the cliffs of Civetta on their way to Rifugio Tissi. A humbling experience with all this beauty surrounding us.
- Total MI hiked – 2.9 mi
- Hiking Time (Including rest) – 2.3 h. We lost around 30 min because we decided to go offroad and had to backtrack.
- What to expect – A lake, and a long hike along the wall of the mountain.
- Water sources – N/A
- Camping spots – N/A
Stage 3 Rifugio Tissi – Rifugio Vazzoler
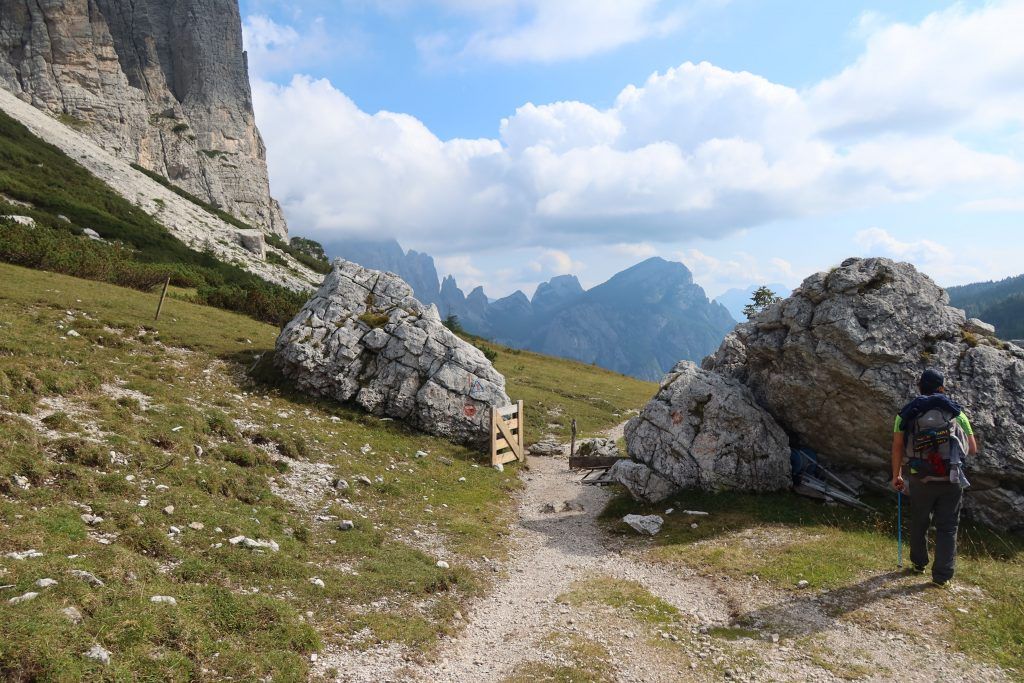
The views on this trail are spectacular. You’ll pass through a glorious world of pastures and pine trees as you make your way around the strikingly pale peaks that lie at Civetta’s southern extremity, all while getting an unmatched view for yourself!
- Total MI hiked – 3.66 mi
- Hiking Time (Including rest) – 2 h
- What to expect – A light hike in a beautiful valley
- Water sources – N/A
- Camping spots – N/A
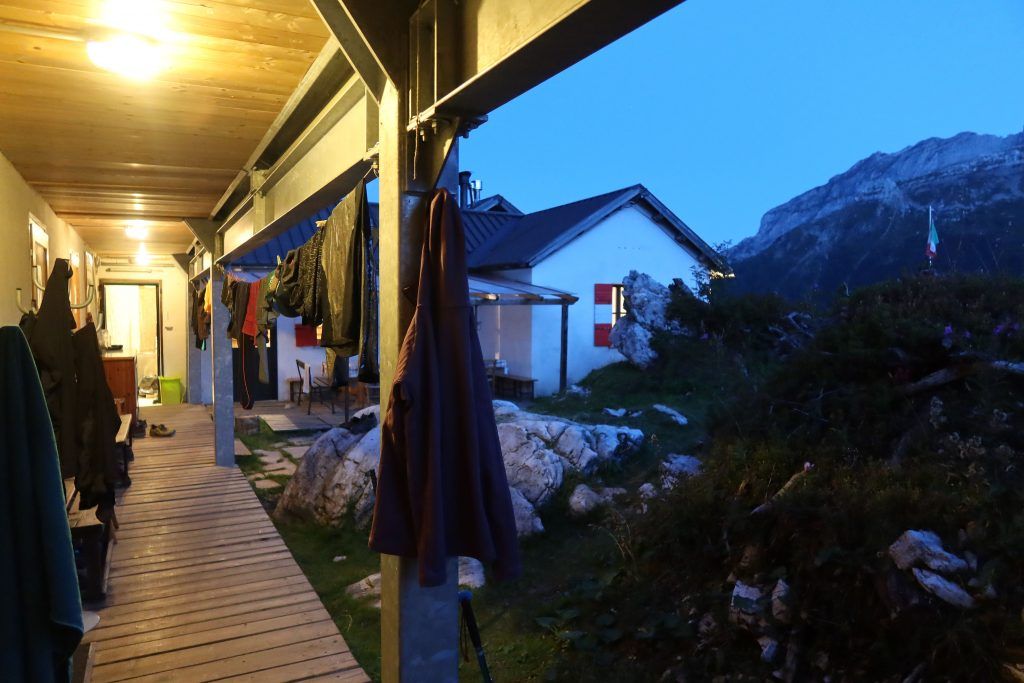
Day 5 Rifugio Vazzoler – Rifugio Pramparet
One of those long and difficult hiking days when you start out at 8 AM and finish around 8 PM. Most probably just had one of those days.
Day stats at a glance:
- Total MI hiked – 14.35 mi
- Total hours hikes – 10.1 h
- Total Ascent – 4288 ft
Stage 1 Rifugio Vazzoler – Rif Carestiato
A stage where it feels like you are hiking for hours and moving nowhere. Again I would write it down to the knee pain and being slightly tired from long hikes.
- Total MI hiked – 5.77 mi
- Hiking Time (Including rest) – 4.20 h
- What to expect – Not impressive views
- Water sources – N/A
- Camping spots – N/A
Stage 2 Rif Carestiato – Passo Duran
A short no thrill stage. Descending down to Passo Duran.
- Total MI hiked – 1.49 mi
- Hiking Time (Including rest) – 0.45 h
- What to expect – A light downhill climb
- Water sources – N/A
- Camping spots – N/A
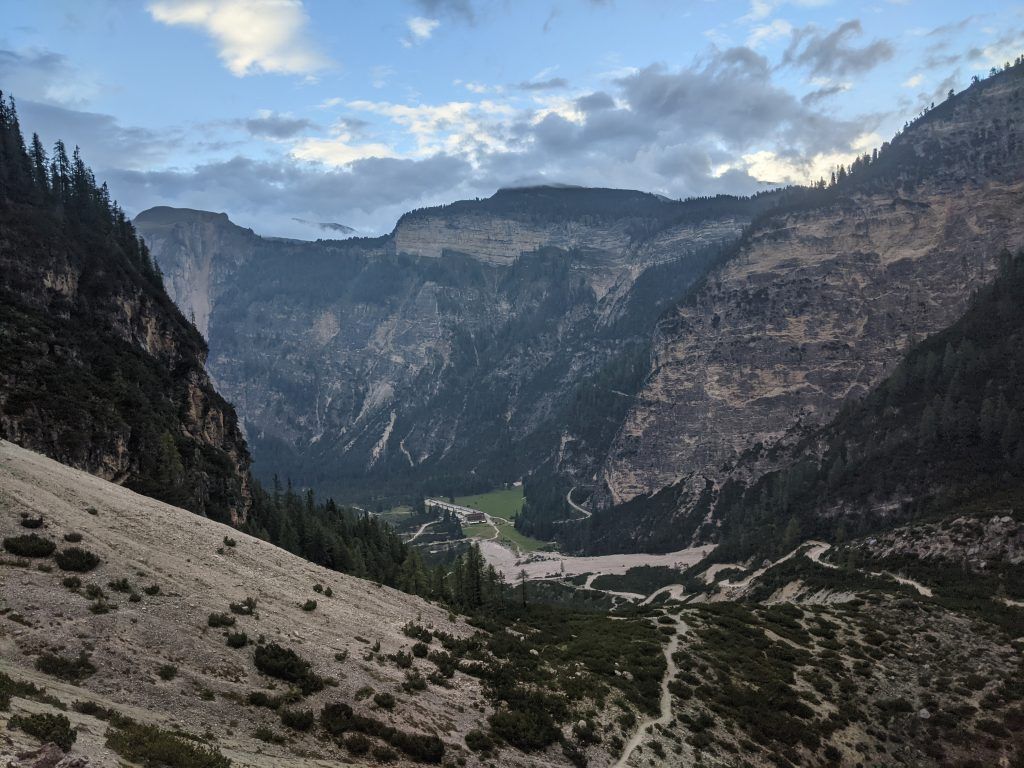
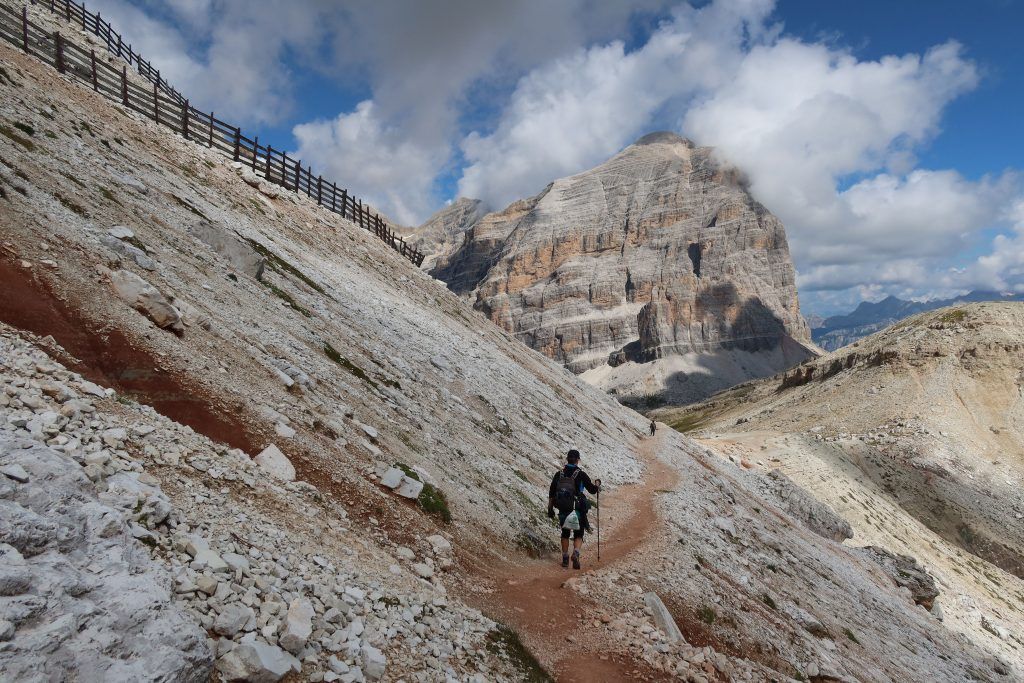
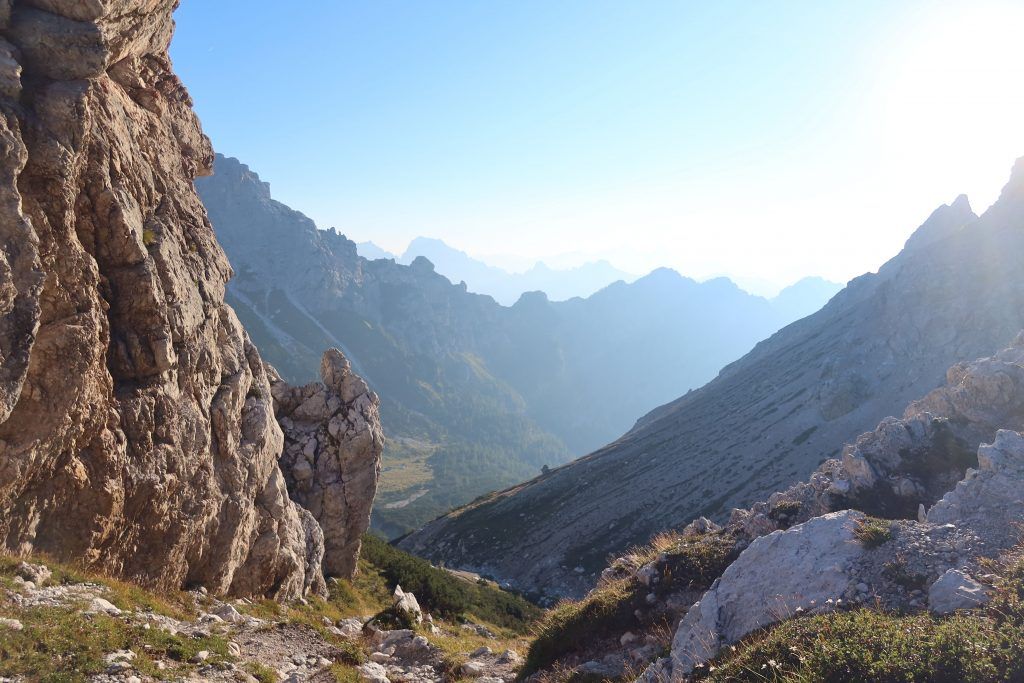
Stage 3 Passo Duran – Rifugio Prampaert
The scenery is wonderful with the color of the pale limestone rock, beautiful vegetation and deep blue skies complimenting each other perfectly. Leading to pass with some of the most beautiful views on the hikes.
- Total MI hiked – 7.08 mi
- Hiking Time (Including rest) – 5 h
- What to expect – A no way back. A beautiful and wild hike.
- Water sources – N/A
- Camping spots – N/A
Day 6 Rifugio Pramparet – La Pisa (Bus Stop)
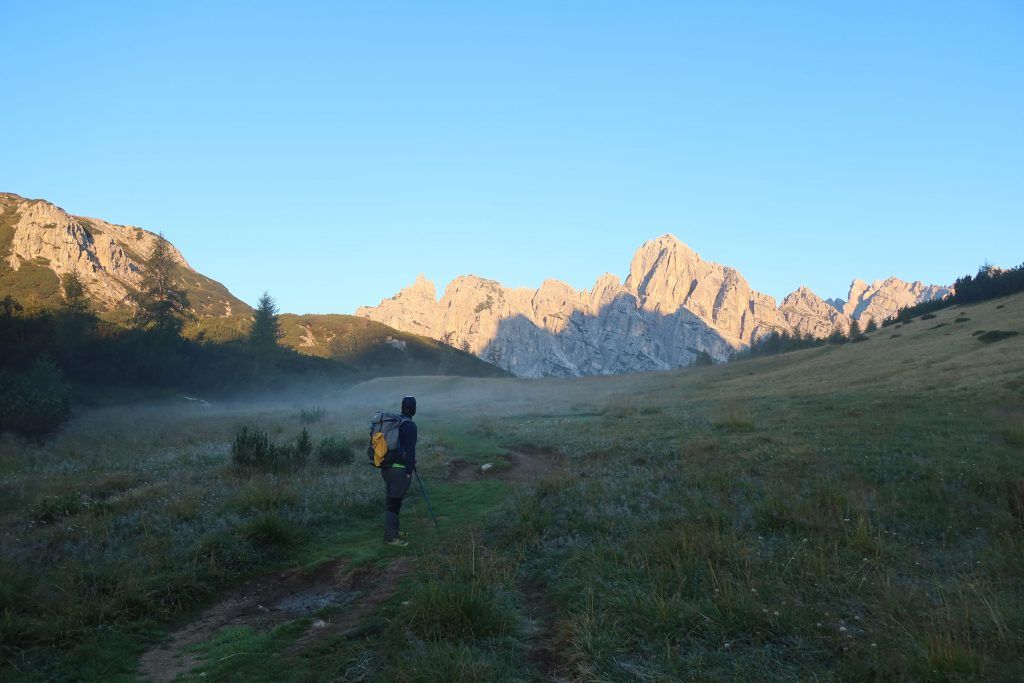
The final stage. Starting early and finishing early with some of the most beautiful views throughout the whole hike.
Day stats at a glance:
- Total MI hiked – 11.18 mi
- Total hours hikes – 7.45 h
- Total Ascent – 2641 ft
Stage 1 Rifugio Pramparet – Rif Fonfana
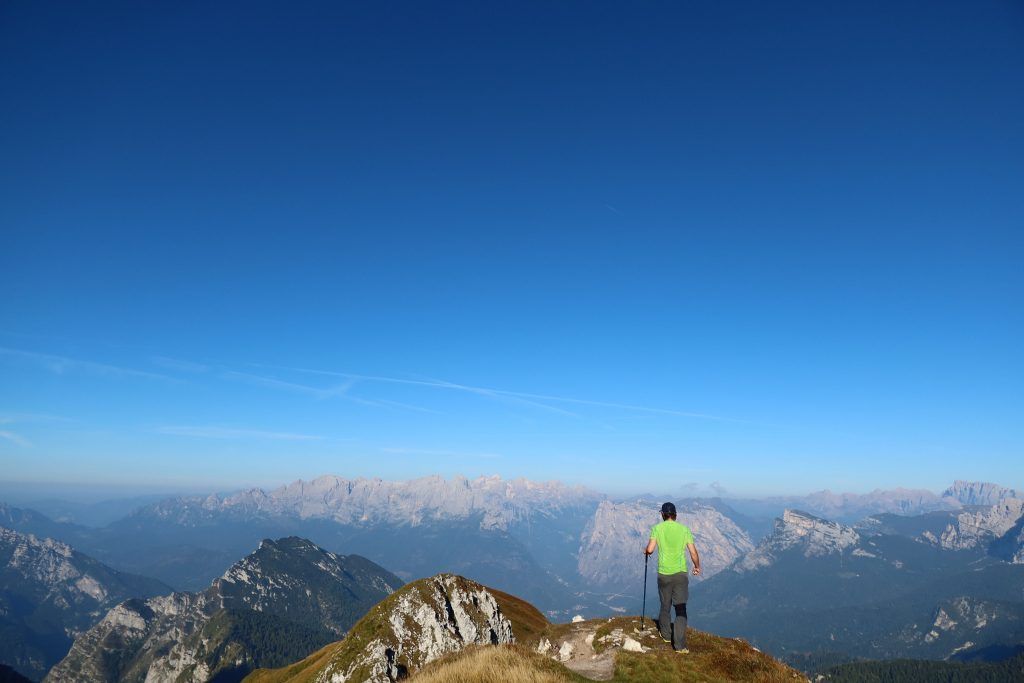
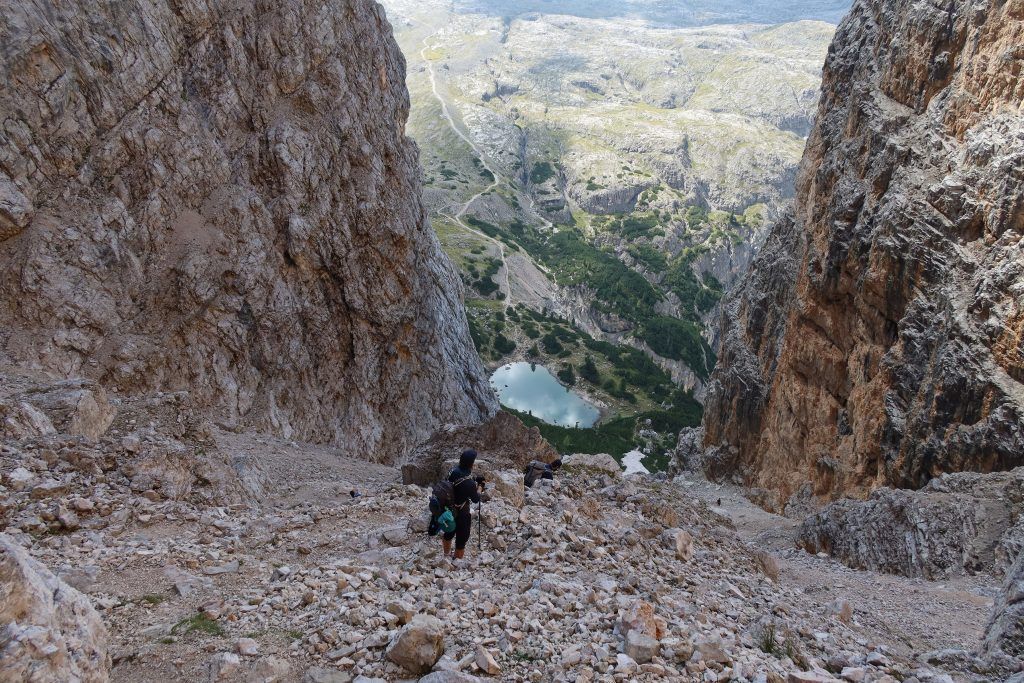
Last highlight of the AV1, maybe the whole trek. However, these delights are hard-earned: The climb starts straight out of the blocks and is very steep. The crux for any hiker who has attempted it will be an exhilarating knife-edge ridge leading up to a magnificent mountain pass where you can finally stop for breath and enjoy the feeling of being on top of the world!
From here on you will have two-part descent. The first one is easy and very beautiful. With luck you will see some wildlife running around like wild mountain goats, marmots or birds;
The second part is a long steep knee breaking descent to Rif Fonfana.
- Total MI hiked – 3.97 mi
- Hiking Time (Including rest) – 4 h
- What to expect – A steep morning climb with majestic views on top and knee breaking long climb down
- Water sources – N/A
- Camping spots – N/A
Stage 2 Rif Fonfana – Rif Bianchet
Almost done. This part provides the last great view. A short descent followed by a short climb brings you to the heavenly traverse around the grassy slopes offering wonderful views into Val Vescova.
- Total MI hiked – 3.6 mi
- Hiking Time (Including rest) – 2 h
- What to expect – One last climb up before going all the way down to the finish line
- Water sources – N/A
- Camping spots – N/A
Stage 3 Rif Bianchet – La Pissa
A beautiful and easy descent with a short knee-breaking descent at the end. Which leads to the road near la Pissa where you can catch a bus to Belluno.
- Total MI hiked – 3.79 mi
- Hiking Time (Including rest) – 1.45 h
- What to expect – An easy hike on the road until you have to turn away and a steep knee breaking climb down before you exit on a highway road
- Water sources – N/A
- Camping spots – N/A
Guided VS Unguided
If this is your first time ever hiking in the alpine region or mountains, I would suggest going with a guided option. Furthermore, they will take care of everything for you. From picking you up from the airport, arranging a guide, places to sleep and food along the way, saving tons of time planning and executing the trip. However, the price for the hike will be quite steep.
Unguided means you will have to do it all yourself and be able to be comfortable navigating the trail on your own or with other hikers.
You can do the Alta Via 1 accompanied by a guide or by yourself, it’s up to you. If you decide to go with a guide, the person will have accommodation and meals arranged for you and you won’t have to worry about planning each stage of the route. Most importantly, there is no chance of getting lost.
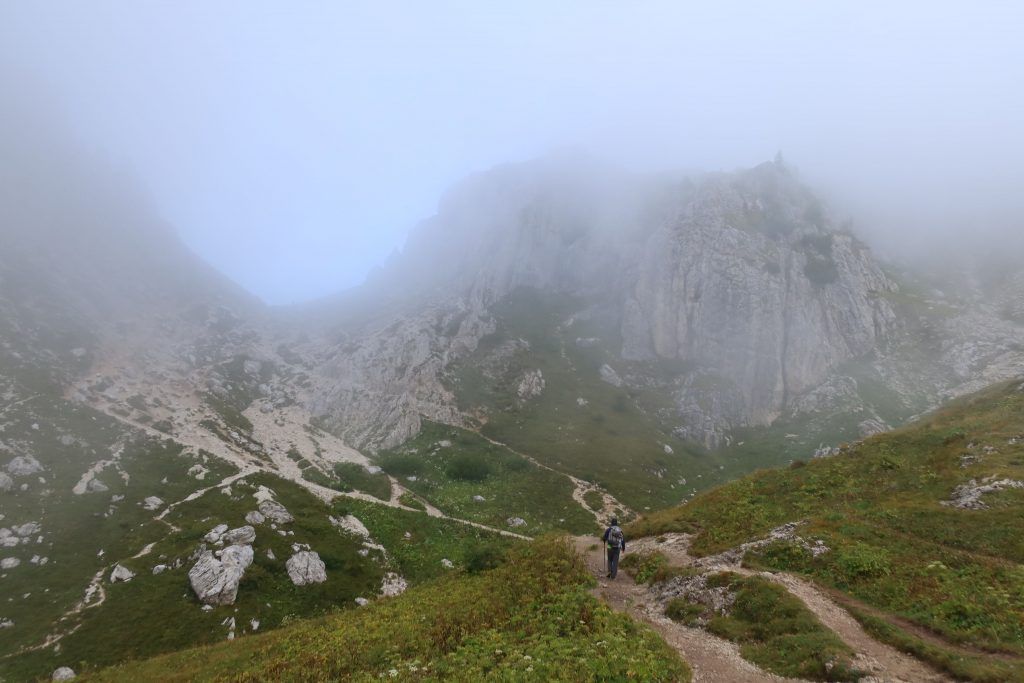
However, the truth is that the trails of the Alta Via 1 are very well marked and signposted. If the weather is clear and you follow the trail, the chances of getting lost are very low. As for the weather, it can get pretty foggy in the afternoon, so make sure you have a map, a compass (and know how to use it), and a whistle just in case.
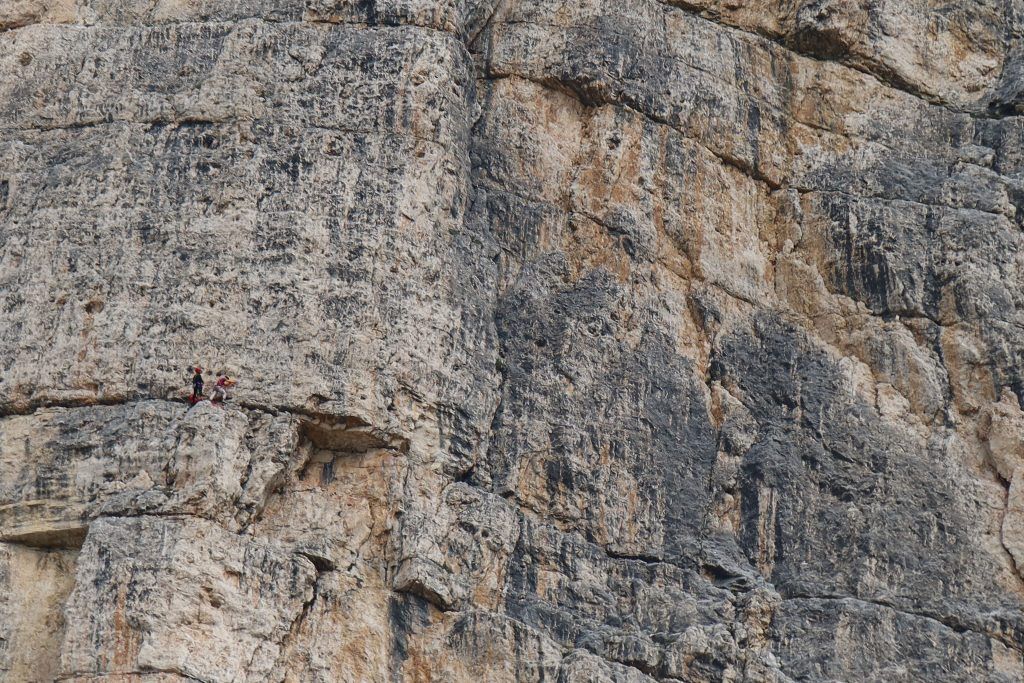
Thoughts on Via Ferratas
If you are not an experienced rock climber I would suggest forgetting Via Ferratas. It is a beast on its own. You need totally different gear + tons of rock climbing experience. Alta Via 1 offers just as exciting views and a sense of adventure even if you skip Via Ferratas.
Best view i have ever seen !
Sounds awful, much better to do it over the recommended time period. You just wouldn’t have time to stop and gaze… What’s the point of just trudging through
It depends. Not everyone is able to take 2 or 3 weeks off.
Helpful review, thanks.
I’d like to add to the other comment that some folks, such as sportsmen, like challenges and want to have a combined tourist hike with endurance exercise. A few hours of easy walking a day does not cut it.
There is that also.